A picture is worth a 1000 words. (for this experiment all pictures are 640x512)
This is a Picture Out Of The Box ..

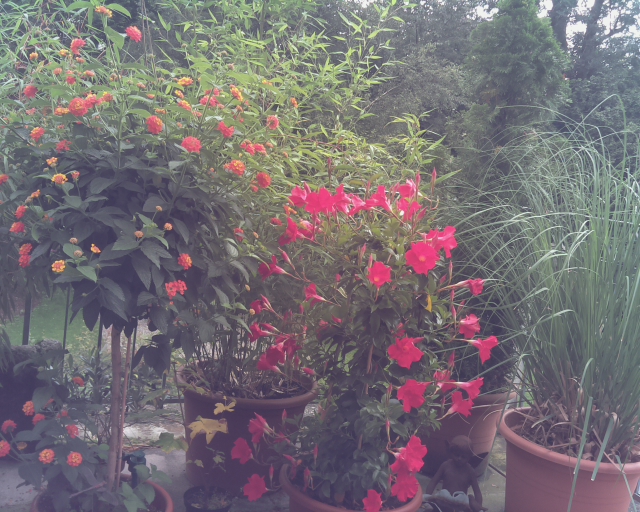
Raw (no filter....no nothing)
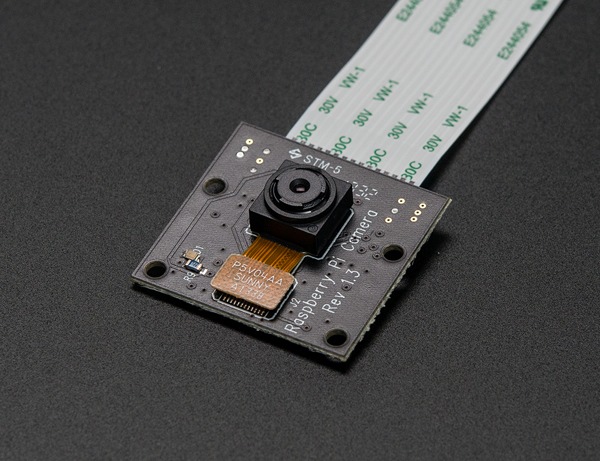
I used this PiNoIR Camera from Newark
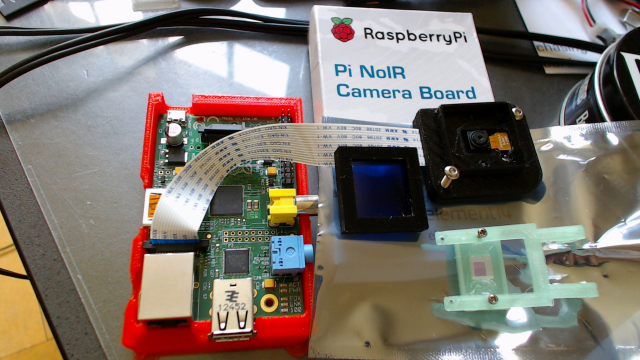
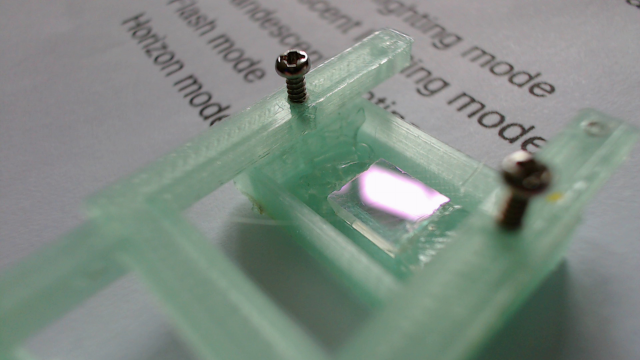
I have made a couple of 3D printed mounts...
... middle black square houses the "Blue" filter that snaps onto the mounting rig I also made.
... the green 3D print mount houses the IR filter rig...that snaps onto the RJ45 socket of the raspi.
What follows is a collection of the cammands used to access the various modes.
This only touches a few of the "Still" picture commands ....(there are video modes too).
All These modes are in "Real Time" and can be viewed in Preview mode (Yes in real time).
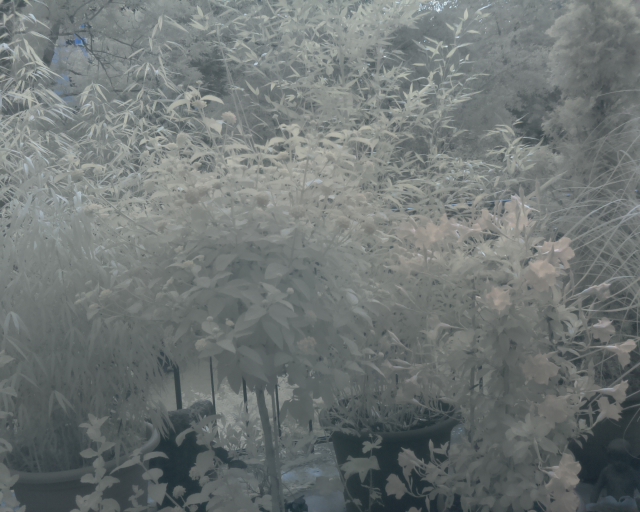
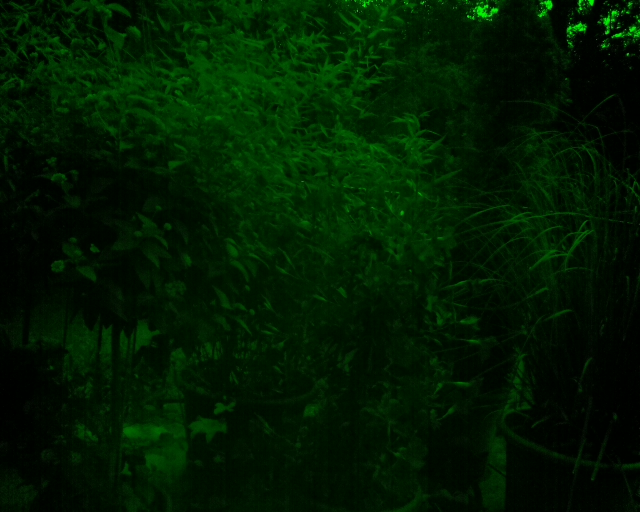
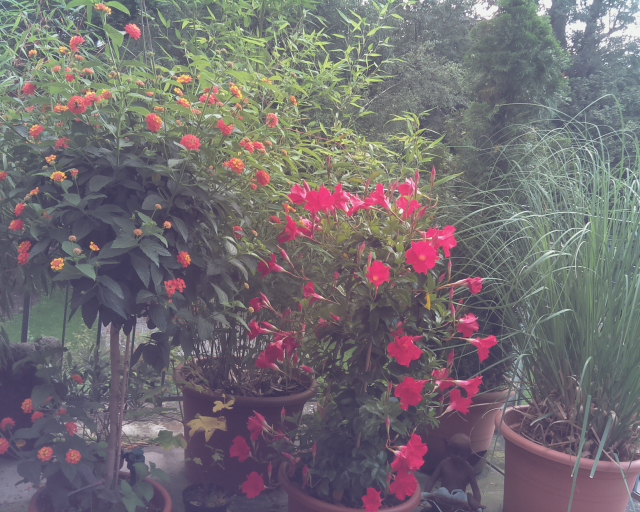
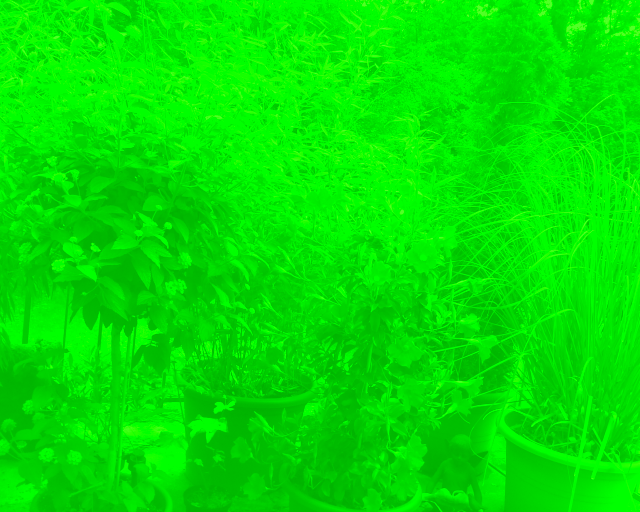
This is with the supplied "Blue Filter"
that helps to bring out the IR content.
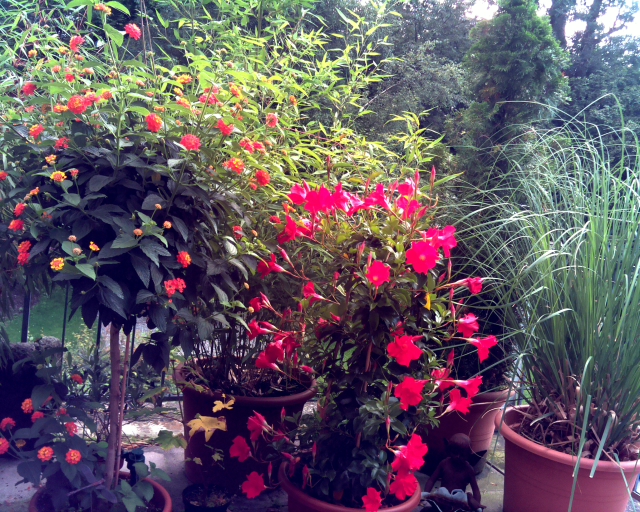
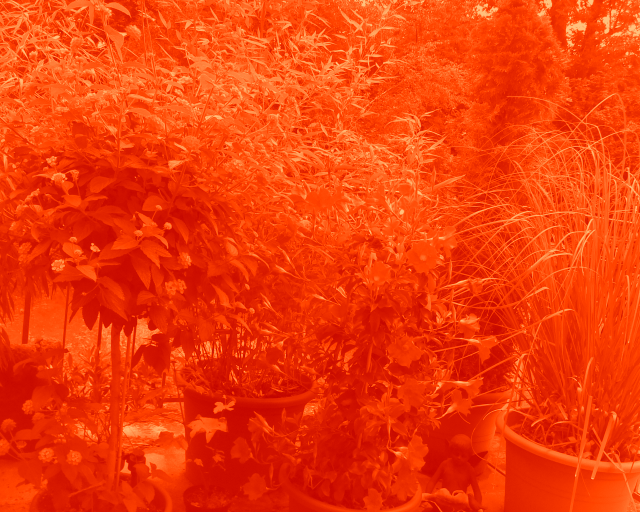
This is with an IR filter ... ie filters "out" InfraRed
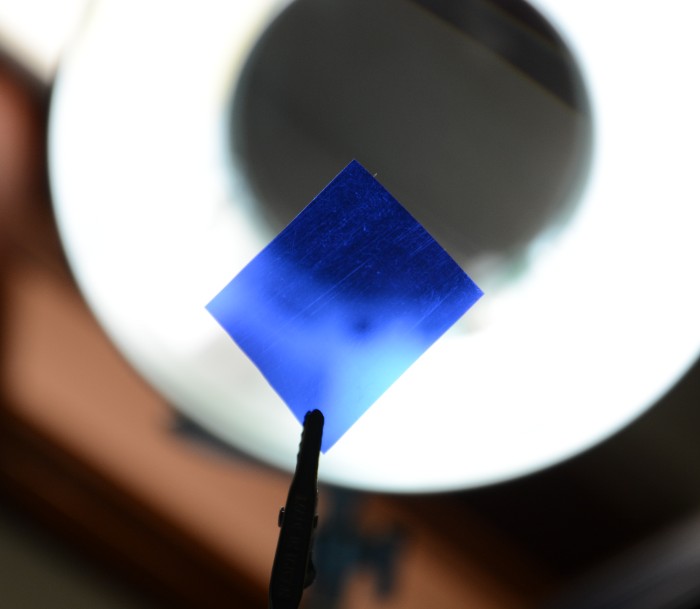
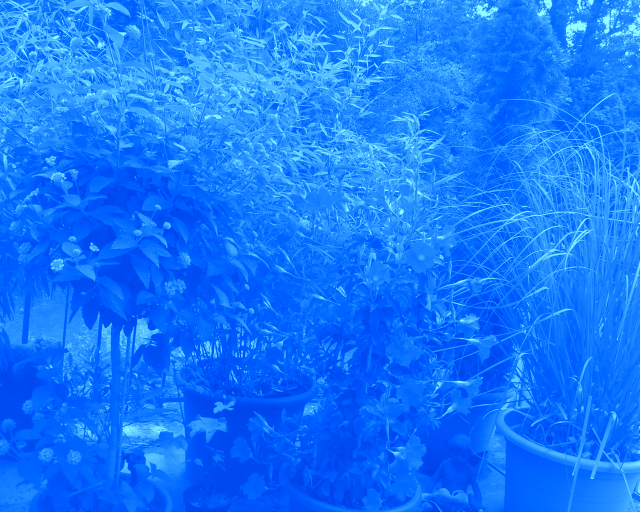
 The filter I used is a glass laser
beam splitter lens out of a
Borged CD rom drive ... perfect.
Its the type of lens that gives a metalic Red/Green sheen.
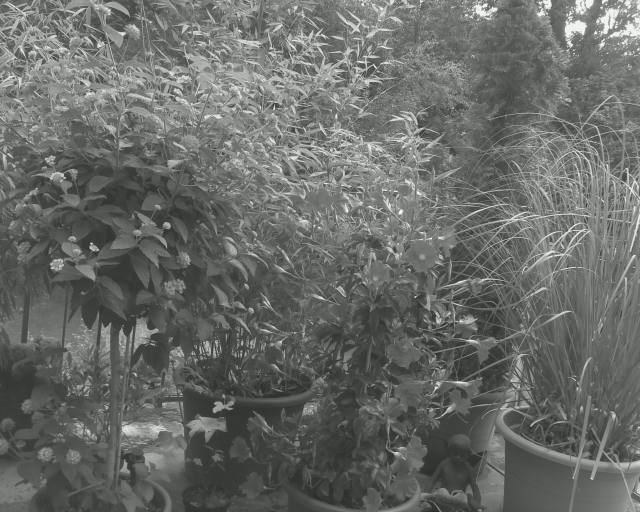
The following pictures were taken with the last "IR" filter attached ... to allow comparison with "Normal" cameras with IR filter....
Automatic White Balance switched "Off" - awb off
Automatic White Balance -awb sun

Image brightness %
-br 0 -br 25 -br 50 -br 75 -br 100

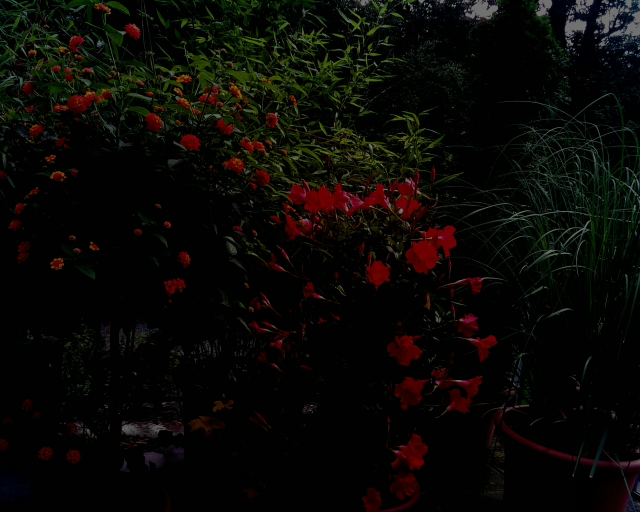
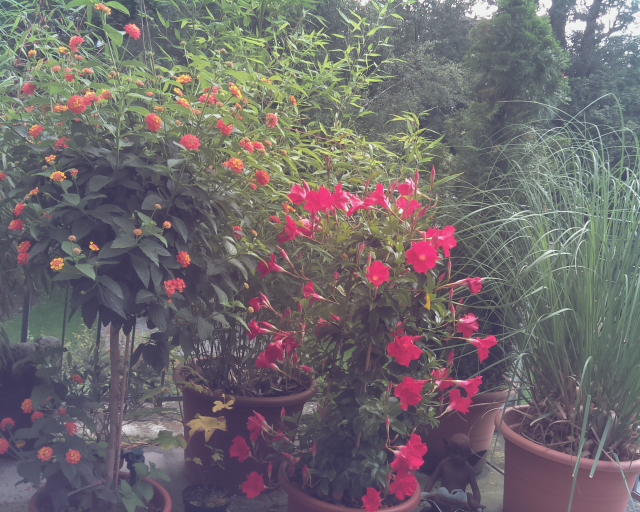
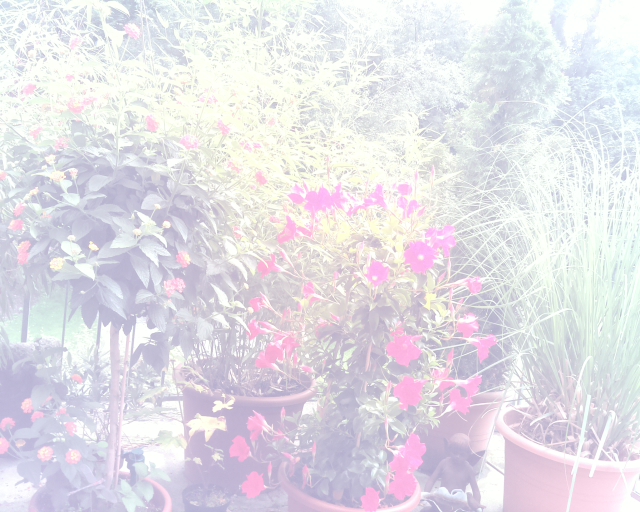

Image saturation -100 to 100
-sa -100 -sa -50 -sa 0 -sa 50 -sa 100
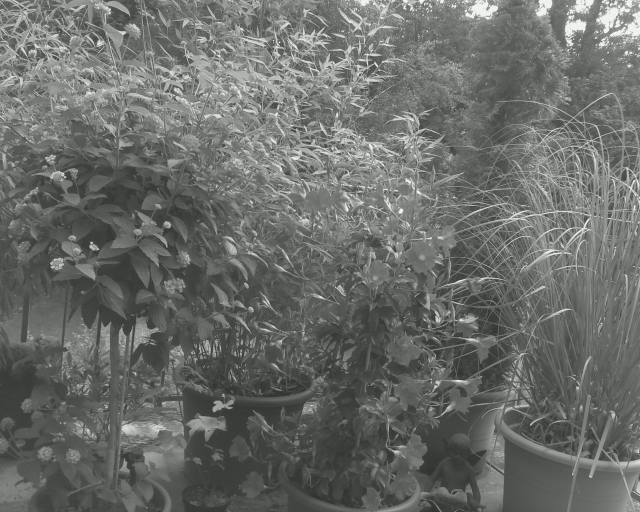


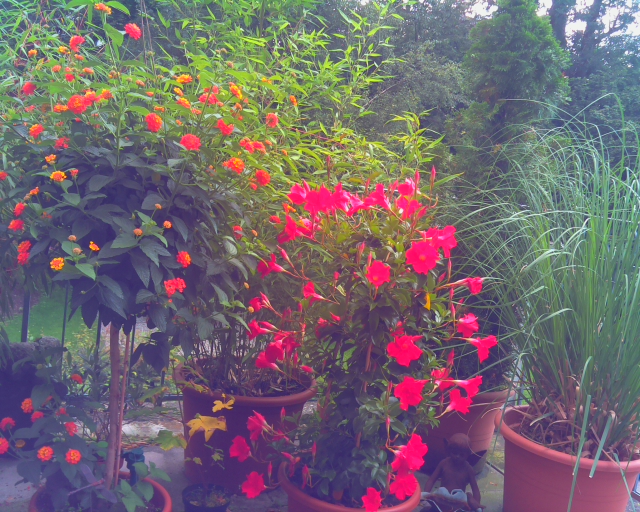
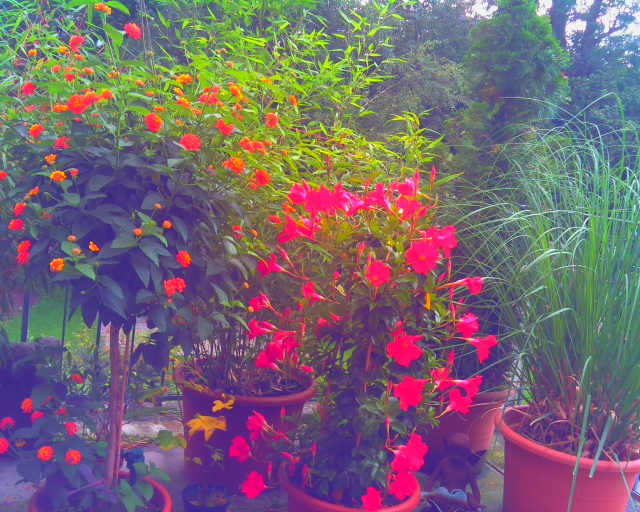
Image contrast -100 to 100
-co -50 -co 0 -co 100

Colour effects (0-255:0-255) :-
-cfx 128:128 -cfx 15:15 -cfx 63:63 -cfx 23:63
Rotations :-
-rot 270 -rot 180 -rot 90
Region of interest ..... -roi 0.5,0.5,0.25,0.25
This is an interesting command that allows you to select a part of the screen (0.0,0.0) - (1.0,1.0)
Image effect -ifx blur
Image effect -ifx solarise
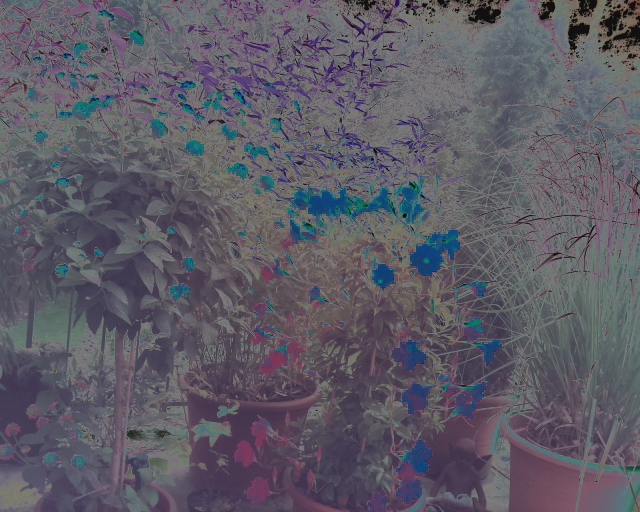
Image effect -ifx negative
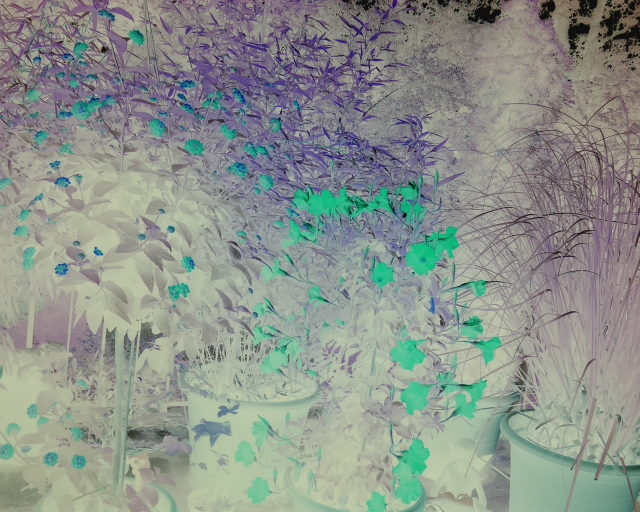
Image effect -ifx colourswap
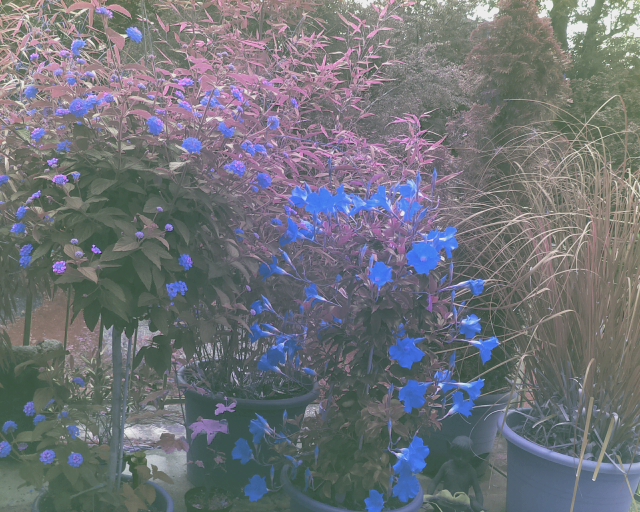
Image effect -ifx emboss
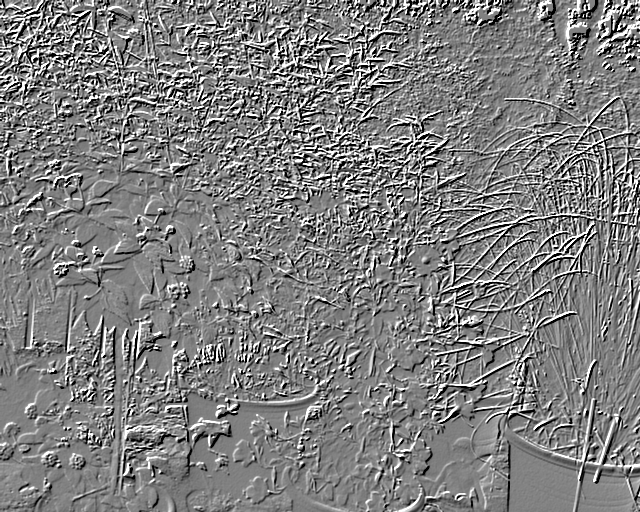
Image effect Graphite sketch -ifx gpen
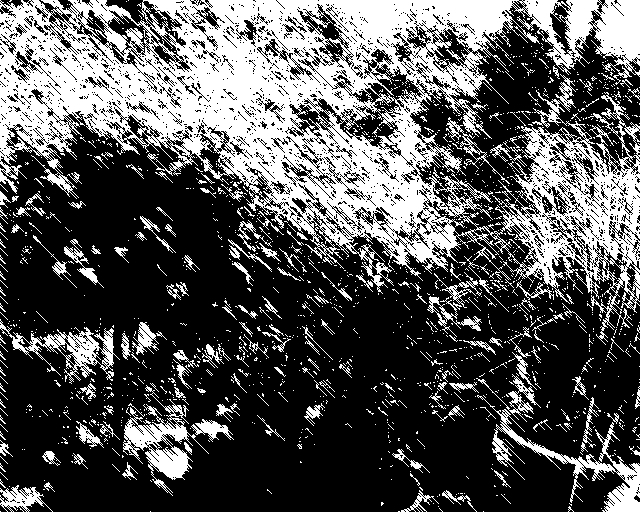
Image effect -ifx hatch
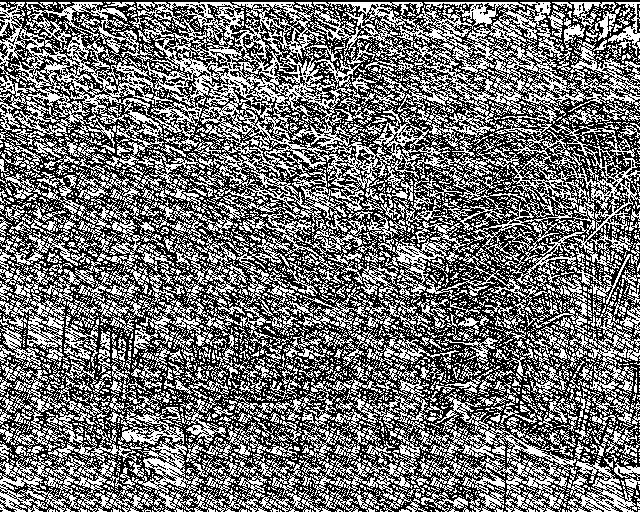
Image effect -ifx watercolour
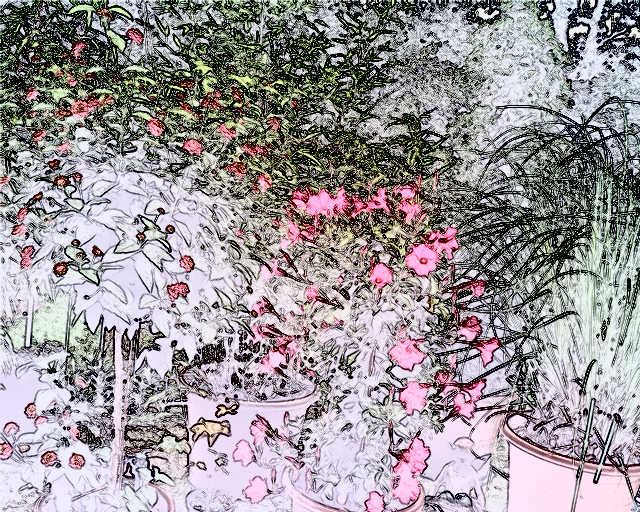
Image effect -ifx oilpaint
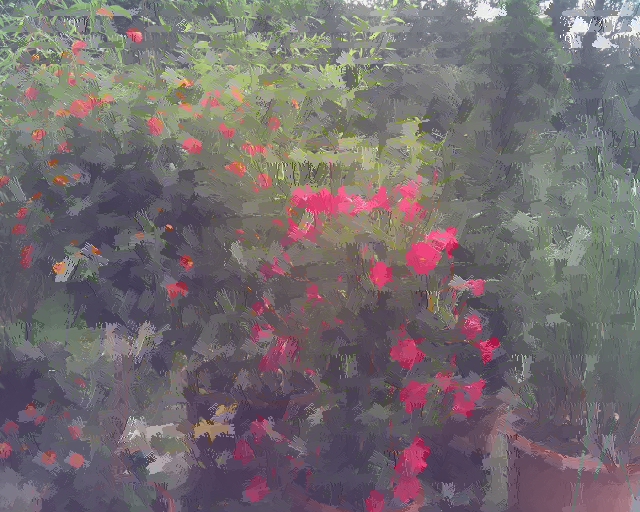
Image effect -ifx posterise
I hope this collection of commands gives an idea of what is possible with the Raspberry PiNoIR camea .
I will do my best to answer any questions you may have.
Hacking IR
Hey this looks like it cuts out a step that I've been having to do for the Plantoids. That is, removing the IR filter. I like to have two cams, but this might be a good settle. With your plain raw image, you can use the scripts on infrapix.org to make planthealth indexes.
I'll be watching for updates!