

#The result can be seen in the Oscope and with the finger action.
leftPort = "COM3"
readAnalogPin = 0
i01 = Runtime.createAndStart("i01", "InMoov")
leftHand = Runtime.create("i01.leftHand","InMoovHand")
i01.startLeftHand(leftPort)
left=Runtime.create("i01.left", "Arduino")
left.setBoard("atmega328")
left = Runtime.start("i01.left", "Arduino")
left.connect("COM3")
def publishPin(pins):
for pin in range(0, len(pins)):
print pins[pin].address, pins[pin].value
if pins[pin].value<=538:
print "No pressure"
if pins[pin].value>=541:
print "Hight pressure"
FingerGoesBack()
left.addListener("publishPinArray","python","publishPin")
sleep(5)
left.enablePin(readAnalogPin,1) # THE NUMBER 1 IS HOW MANY POLLS / SECONDS
i01.leftHand.setAutoDisable(True)
def moveFingerSlowly():
i01.leftHand.index.enable()
i01.leftHand.index.setVelocity(25)
sleep(2)
i01.leftHand.index.moveTo(180)
def FingerGoesBack():
i01.leftHand.index.enable()
i01.leftHand.index.setVelocity(-1)
i01.leftHand.index.moveTo(0)
for pin in range(0, len(pins)):
print pins[pin].address, pins[pin].value
if pins[pin].value<=538:
print "No pressure"
if pins[pin].value>=538 and pins[pin].value<=540:
print "Low pressure"
FingerGoesBack()
if pins[pin].value>=540 and pins[pin].value<=543:
print "Soft pressure"
FingerGoesBack()
if pins[pin].value>=543:
print "High pressure"
FingerGoesBack()
int diff = 2;
int raw;
int calruns = 10;
unsigned long calibration = 0;
void setup()
{
Serial.begin(115200);
findmid();
}
void Measurement()
{
raw = analogRead(0); // Range : 0..1024
if(raw < mid-diff || raw > mid+diff)
{
Serial.print("Output: ");
Serial.println(raw-mid);
}
}
void findmid()
{
delay(100);
Serial.println("Setting up... Please wait");
for(int i = 0; i < calruns; i++)
{
raw = analogRead(0);
calibration = calibration + raw;
delay(200);
}
mid = calibration / calruns;
Serial.print("Midpoint found at ");
Serial.println(mid);
Serial.println("Ready:");
}
void loop()
{
delay(25);
Measurement();
}

Cool to see some progress
Cool to see some progress Gaël, with this Finger Hall-sensor setup!
It looks there isn't a big resolution in your test, 538 true 543.
Normalwise without a magnet by the sensor, it must be around 512.
Is there some space left, to closer the sensor more to the magnet? I hope it gives a bigger resolution.
Other option is to try a other sensor, like this one: https://sensing.honeywell.com/SS495B-linear-and-angle-sensor-ics
Regards,
Marten
Hello Marten Currently I do
Hello Marten
Currently I do not have a 10k resistor at hand, so it's direct connection.
Not very good, but I didn't have the time to go shopping for a resistor.
I'm guessing this is causing the poor resolution.
Hi Gaël, For these type of
Hi Gaël,
For these type of hall-sensors you don't need a resistor!
With a digital pin use, there you will need one Pull-Up/Down resistor, or use the Pull-Up resistor from the Arduino board.
For a digital use, it's also better to not use Linear based Hall-sensors, more a type with a smith-trigger inside.
With this it's just On or Off and not in between.
Here some info with different types: http://bildr.org/2011/04/various-hall-effect-sensors/
Regards,
Marten
Hello Marten, How strange, I
Hello Marten,
How strange, I found a few tutorials that show this (but the hall sensor is referenced 1881, instead of 3503):
So maybe that is the reason.
By the way, I am using the A0
By the way, I am using the A0 analog pin via pin54 on my script.
Just a bit more info about
Just a bit more info about the range.
Currently it varies from 538-->595.
If I would put the magnet urther away, I would increase the range. But I think it is fine enough. It is very sensitive, and you can also apply really a lot of pressure.
Hi Gaël,This 1881 is a
Hi Gaël,
This 1881 is a typical Digital Hall-Sensor Latch switch !
That's why you see at the output side "digital out".
Inside this Hall-sensor there is a Schmitt trigger.
Copy from the datasheet: https://www.sparkfun.com/datasheets/Components/General/Hall-US1881EUA.pdf
General Description:
The one you are using now, is a linear type and that's a big defference.
It needs no Pull-up resistor.
Here a site in your language: https://wiki.mchobby.be/index.php?title=Senseur-Hall-SS495A
I hope to find my (same) hall-sensors tomorrow, so I can also test the difference.
Regards,
Marten
@pump_upp - best crypto pumps on telegram !
https://t.me/pump_upp - best crypto pumps on telegram
Make 1000% and more within 1 day, join channel @pump_upp !
Did you tried to add rezistor
Did you tried to add rezistor to decrease current on port?
Thanks, Indeed there is no
Thanks,
Indeed there is no resistor yet, so Im guessing this gives the poor resolution.
I hope to finisch next monday
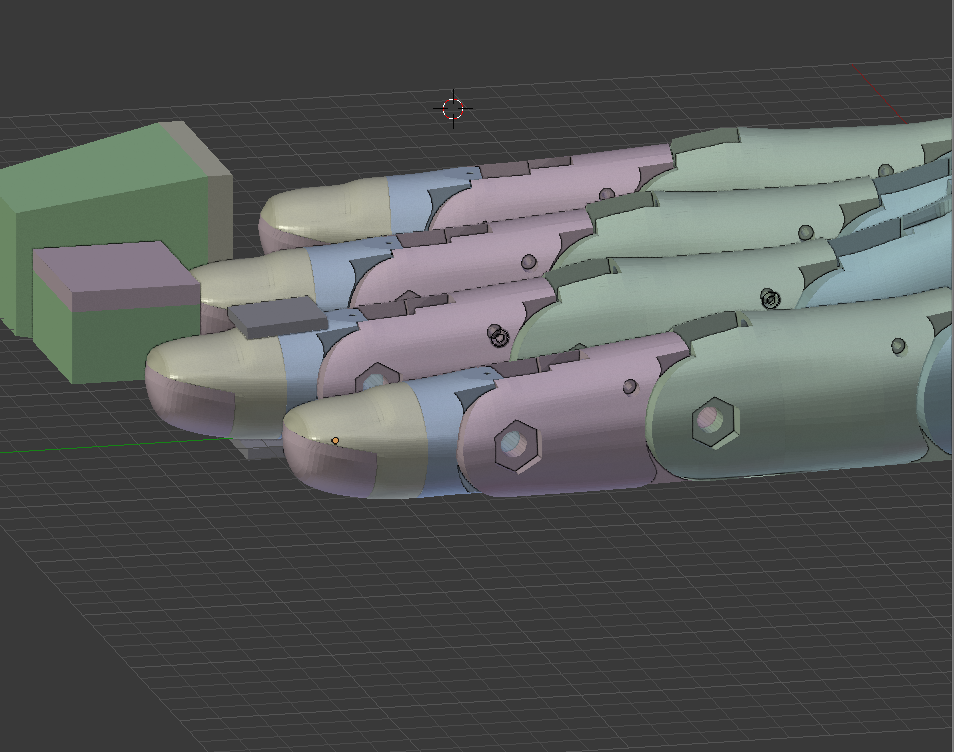
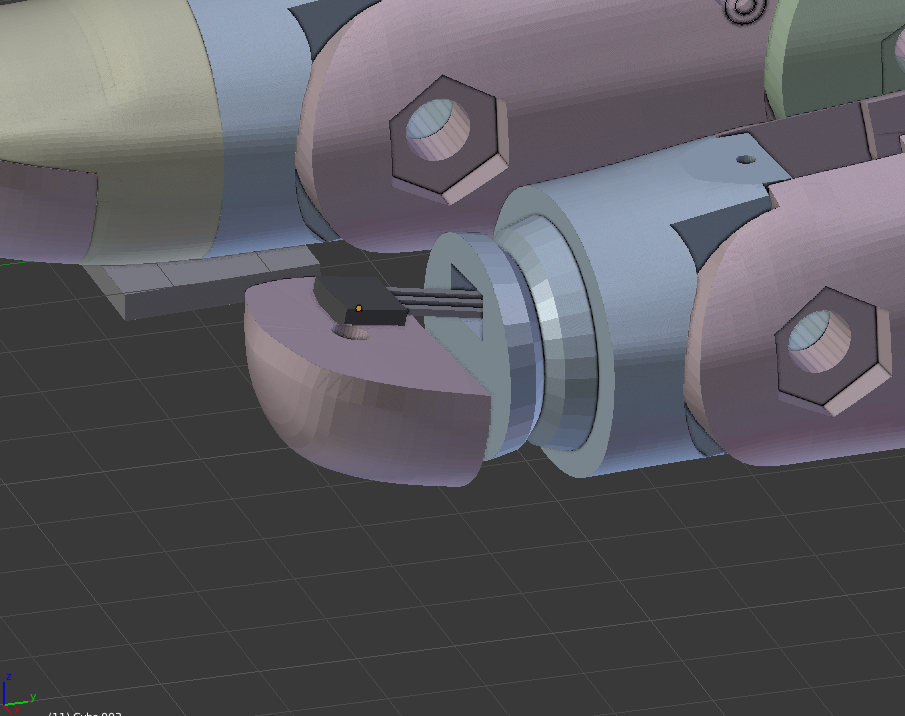
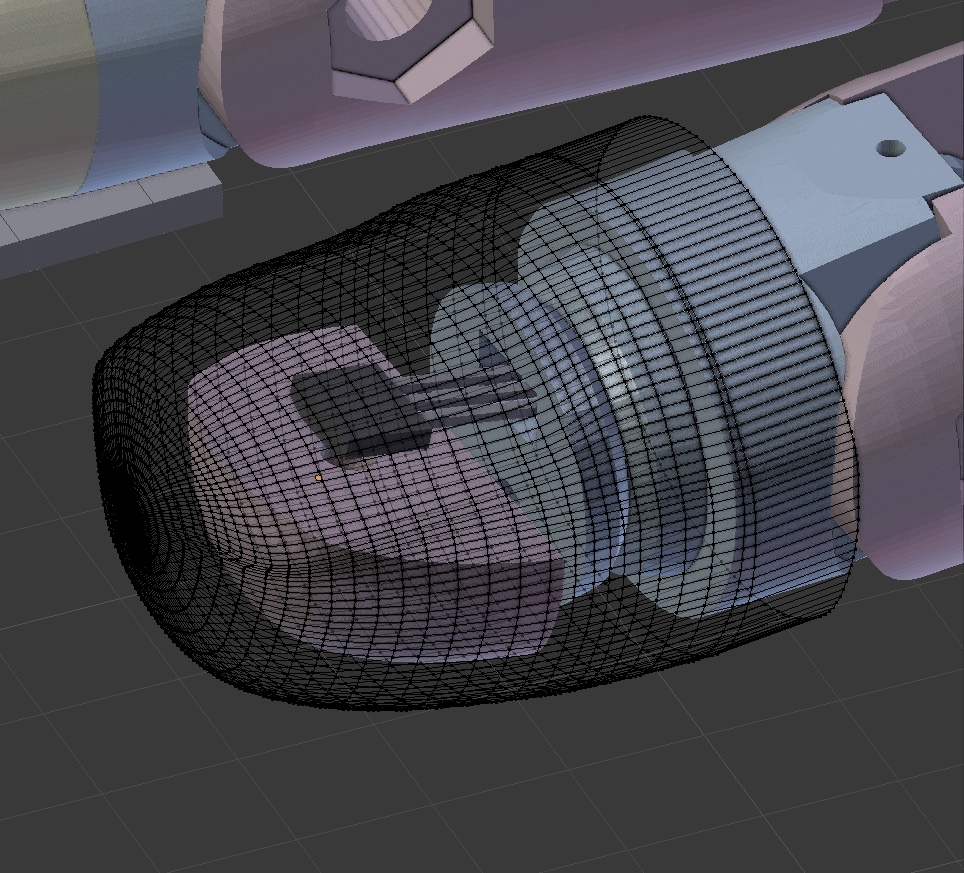
I hope to finisch next monday my Finger StarterKit V2 with Hall-Sensor option.
I’ve ordered some SS495A Hall-Sensors to play with.
If it works, then I will share it by Thingyverse.
I hope, I don't need the spring with the Hand version later.
Here a older video: https://www.youtube.com/watch?v=V2FL0jzV4EE
Regards,
Marten
After a test this day, here
After a test this day, here the results from the sensor reads SS495A:
The lowest valeu = 105 and the highest = 437 (10bit resolution)
The sensor starts without a magnet by 2,5V, so the magnet is close enough to the sensor and when I slide the servo to his maximum, it just reach the maximum sensor valeu.
The distance between the sensor and magnet is now 5mm and is the exact range for the used magnet (2x1mm)
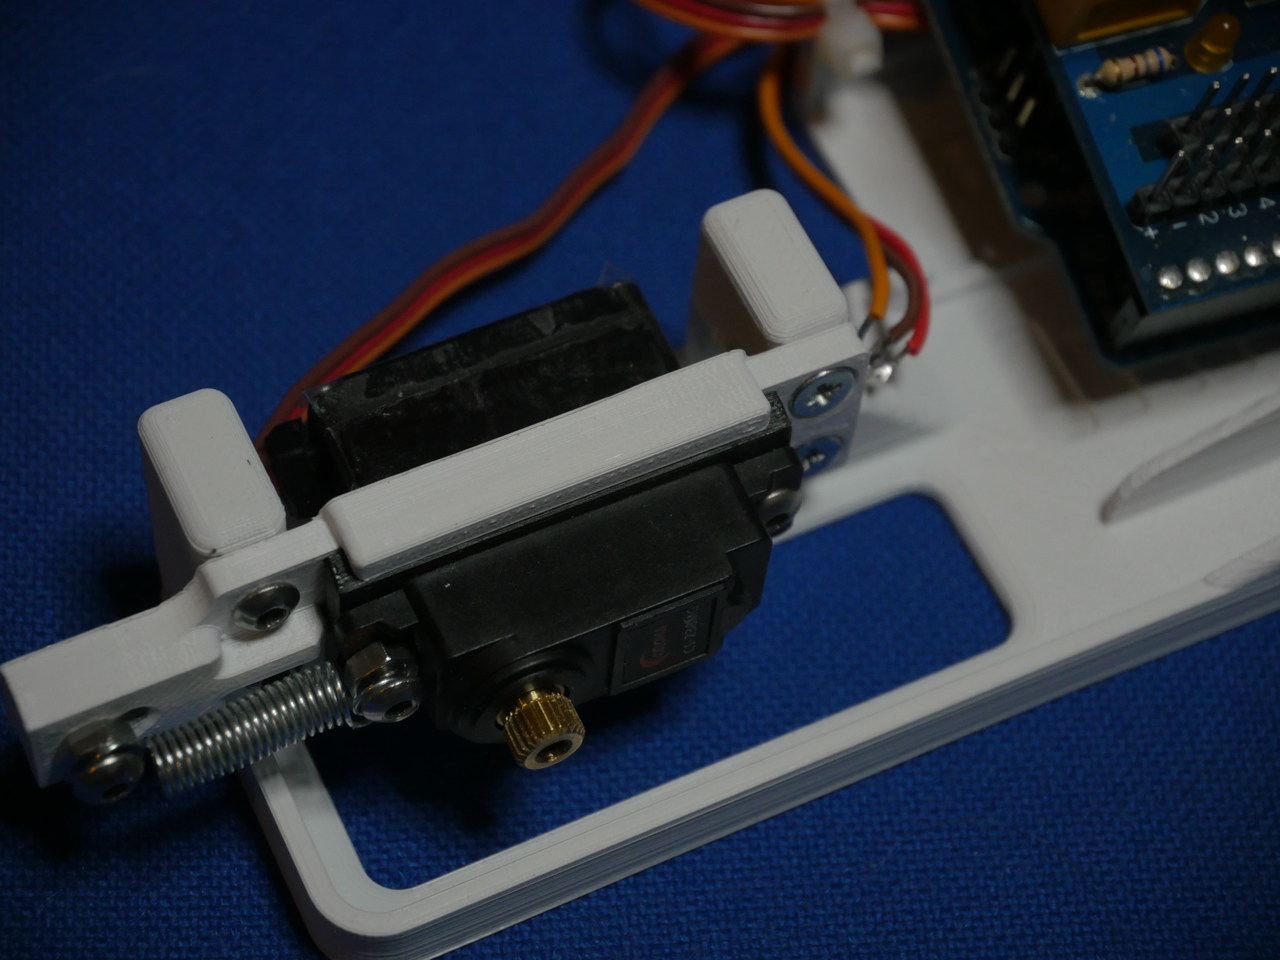
Here some pictures from the test setup:

The spring pulls the servo to the left...
When the finger get's more grip to something, the servo will slide to the right and makes the distance between the sensor and magnet smaller.
The next step is to install the finger and find the correct spring pressure.
Regards,
Marten