Ever wanted to know the positions of your Servos before you attach them from Cold Boot Reset.
This Quick Hack gives a good positional check of your Servo's , meaning that you can the "Ease" your Servos from a random position to Start position.... without the "Warp at Max speed" - saving your nerves and Plastic bits and gears... (falling in line with Asimov’s Three Robotic Laws of preservation).
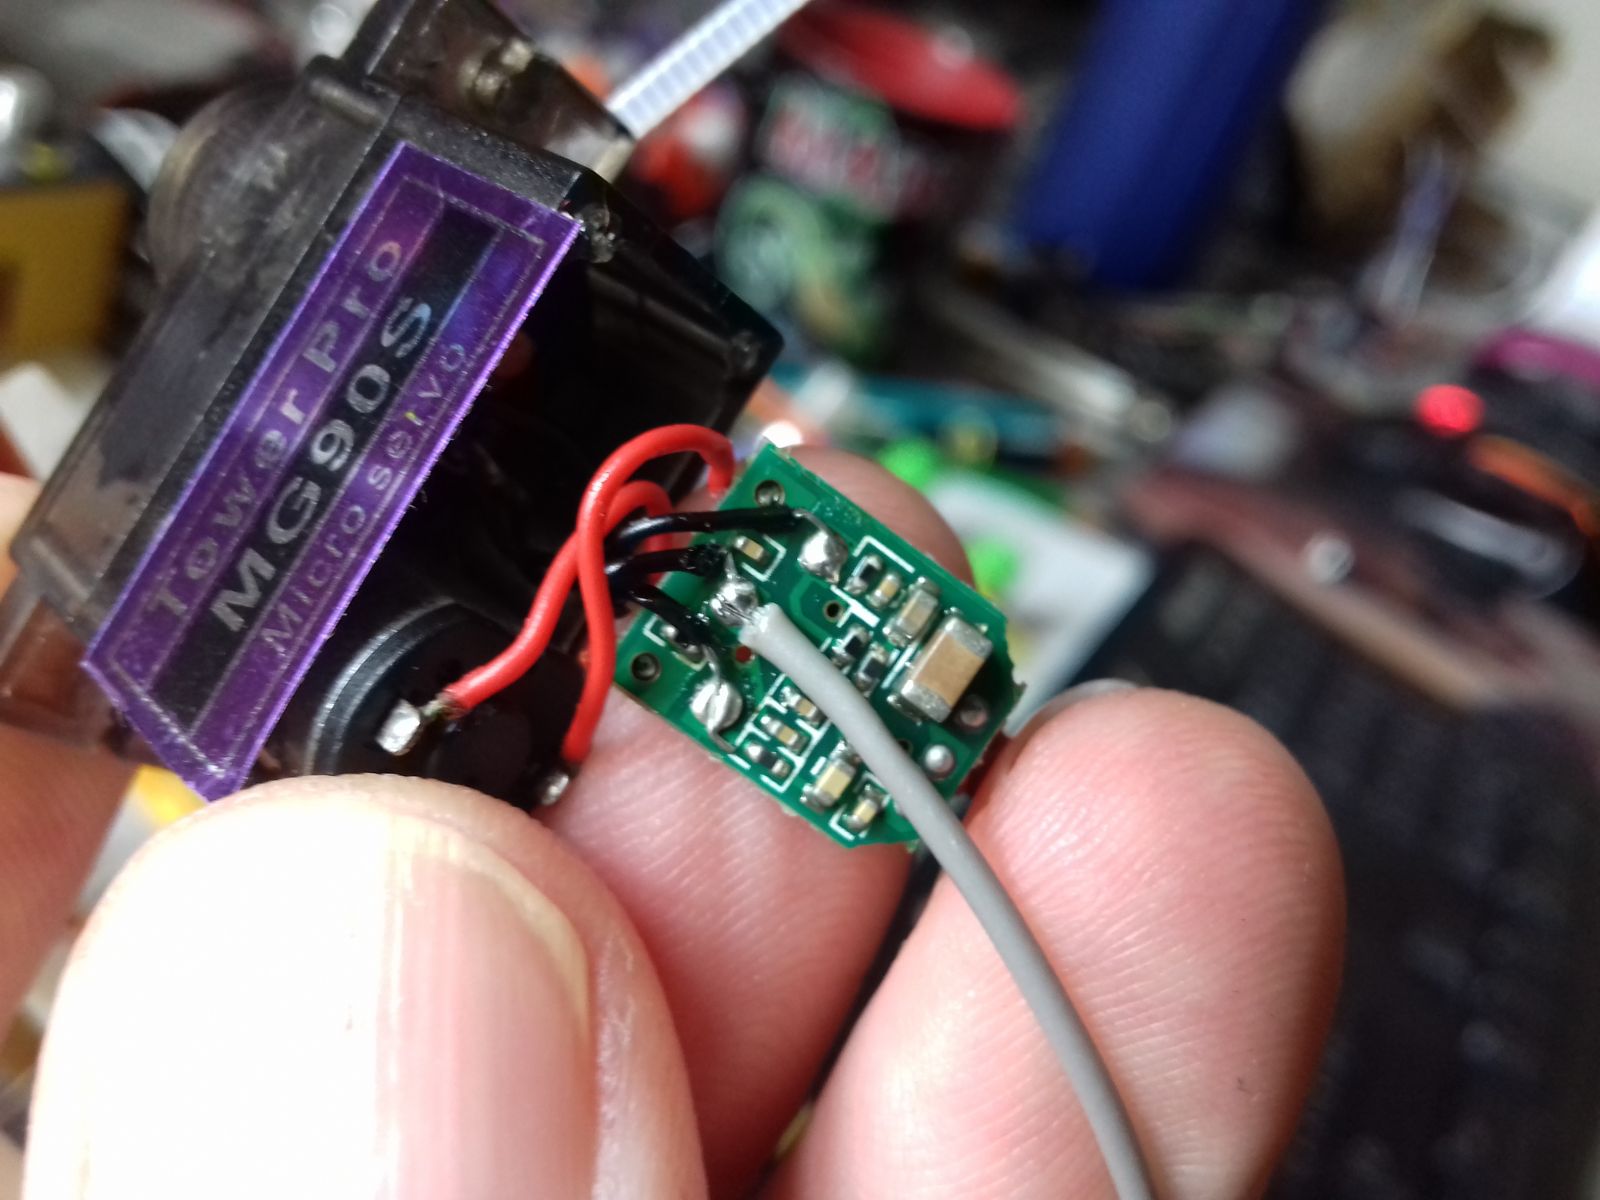
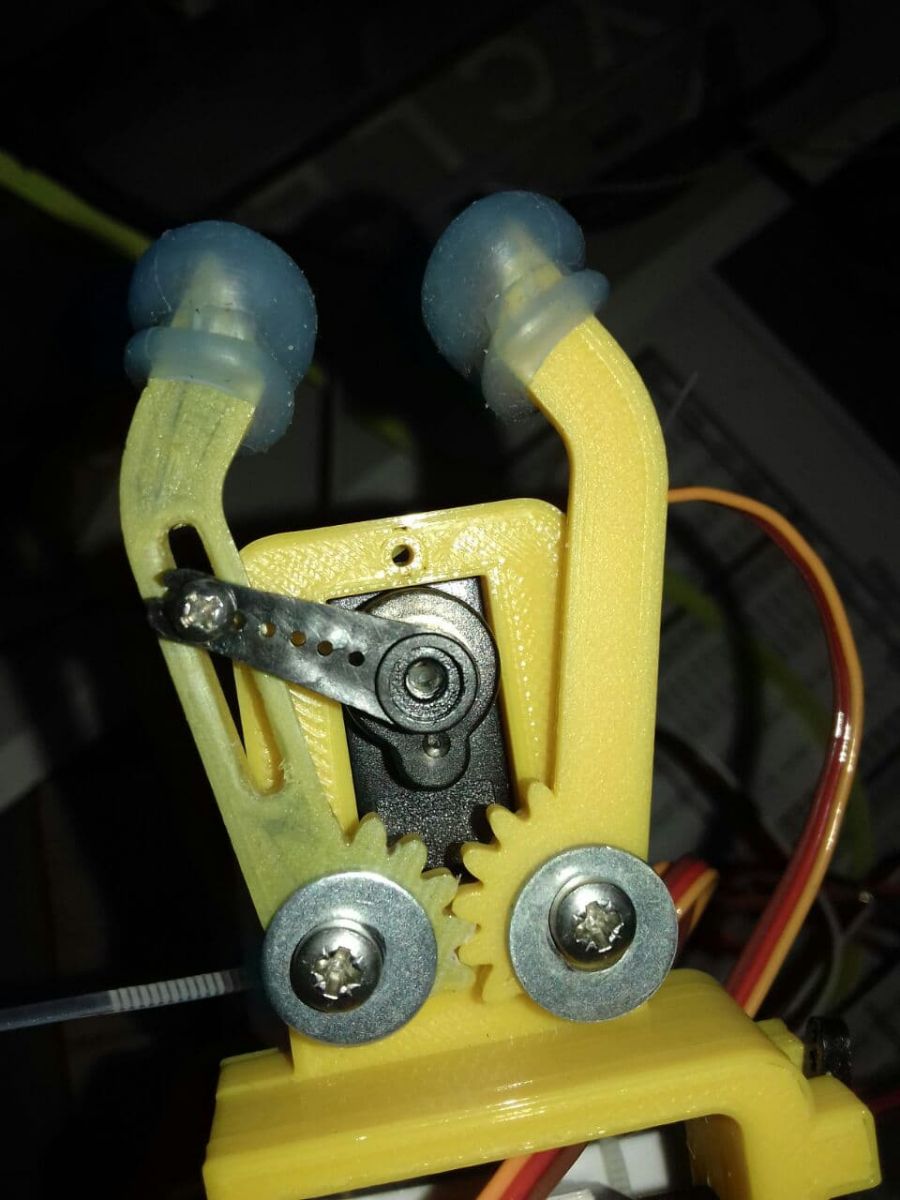
Most Servos have a positional potentiometer tucked inside the casing. The rotational wiper of the potentiometer arm is connected to the gear train fixing a mechanical position. The Servo can then use this positional data to synchonise the PWM signal (Vis. Setpoint) to its mechanics.
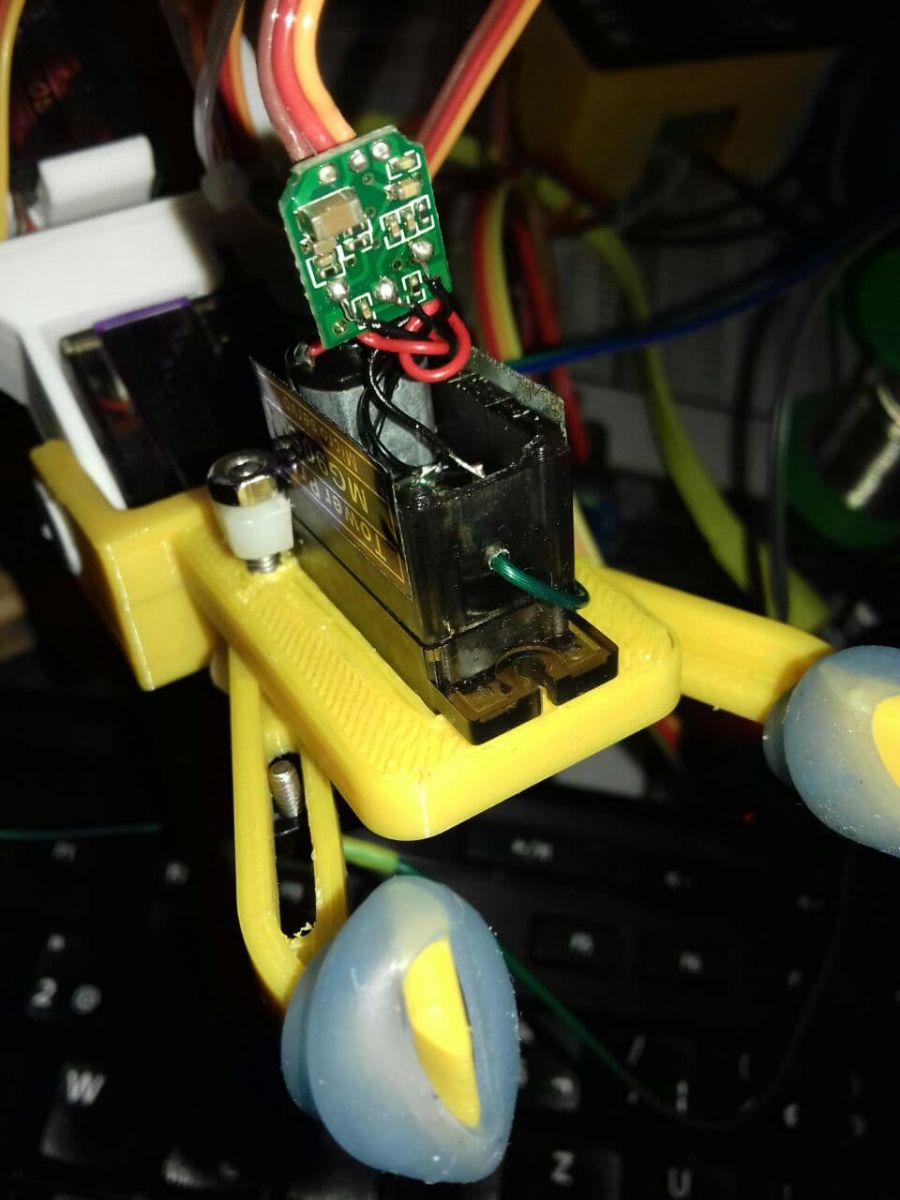
The Hack takes advantage of this by tapping simply a single wire (see above) onto the middle wiper arm of the Potentiometer. This is brought out and fed directly to an ADC pin of a microprocessor.
In my case with the TowerPro metal MG90S servo (driven @5Volts a full range sweep of the Servo gives an output voltage from 0.53 Volts to 2.777 Volts (not a bad range)
Please note (for this hack) your powersupply must give a stable regulated voltage (servos are notorious for dipping the voltage with the high currents they demand).
Also Note that the analog wire you bring out must not be loaded in any way... i.e. your ADC microprocessor must have a highish impeadance input.

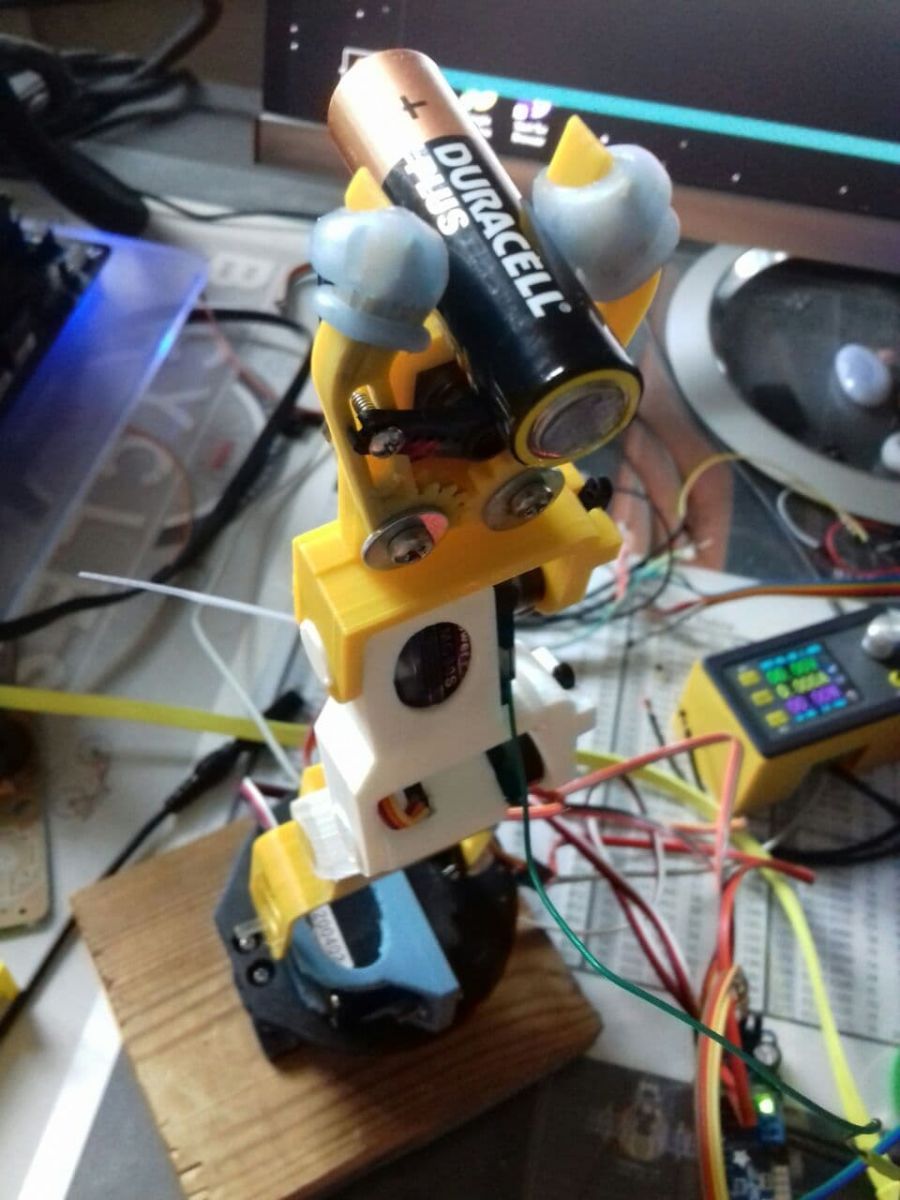
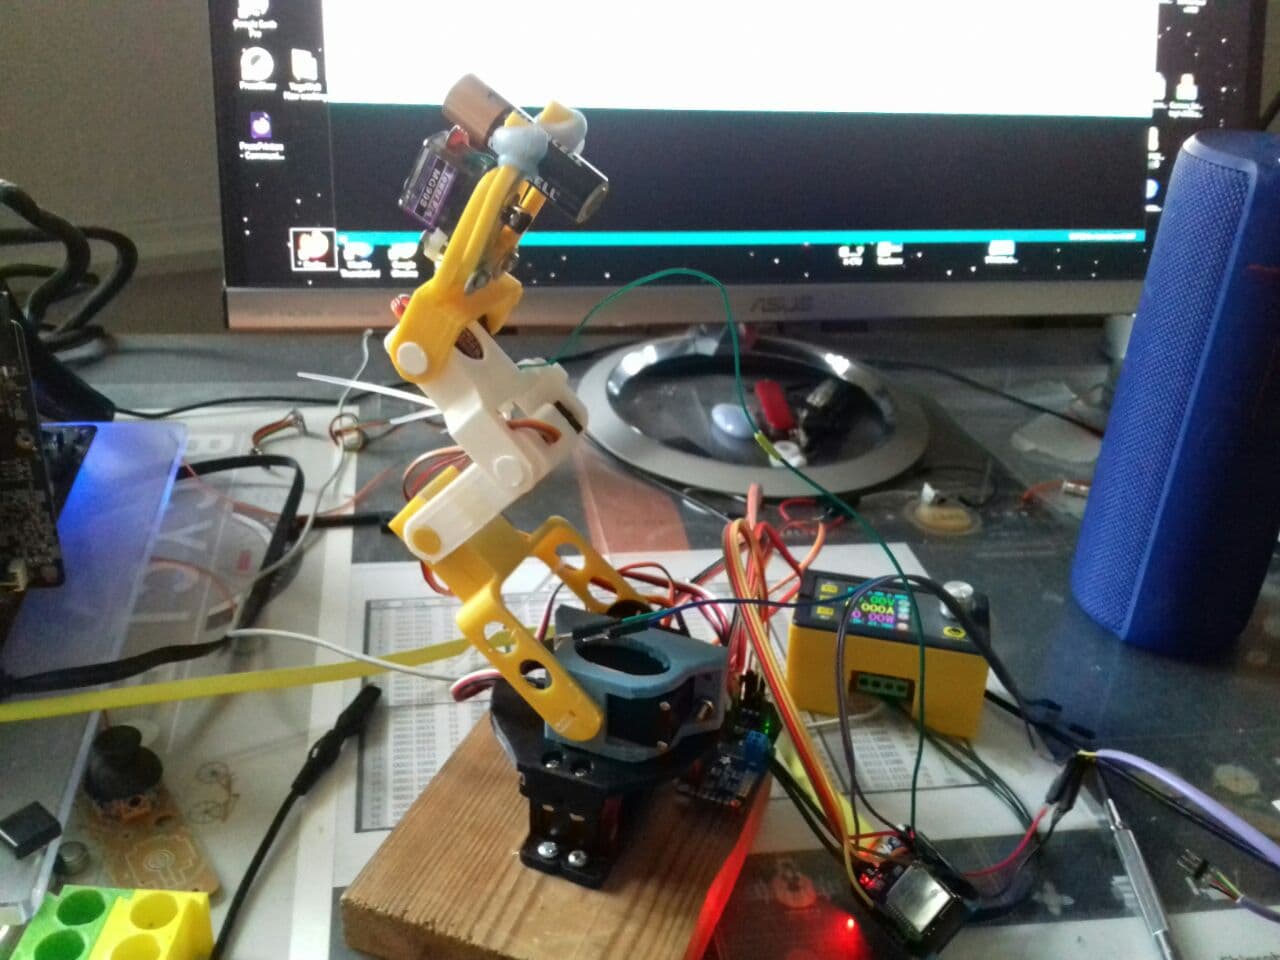
In my case its used on a Robotic linked arm ....6 Servos (driven by an Adafruit PCA9685 Servo i2c module)
Previously from "Cold Reset" the snake chain of Servos was quite hazardous during power on.
I am now utilising an "Ease too>> Position" code, which reads the position first before attaching and them eases from initial position to the Normal "Resting or awaiting action" position.
| Quick simple get me going Example code for Driving servo to MCU setpoint :- |
|
#include <Arduino.h> #include "ServoEasing.h" #define INFO // to see serial output of loop const int SERVO0_PCA9685_PIN = 0; int polltime1=2000;int xx=90; int gripperadc; void setup() { } |

Your posts are
Your posts are gold.
#include "ServoEasing.h" - really? so ease is just slow movement to desired position from current position ... and you can get current position from your well illustrated hack ?
Great advice on the electrical - but I didn't see much of the mechanical surgery ... ?
Always a pleasure to read Gareth !
Servo_Easing....
Using this Library :- https://github.com/ArminJo/ServoEasing
HeHe... not only slow/fast but also with quite a choice of profiles below:-
Includes the following easing functions:
Its quite satisfying to watch the acceleration/de-acceleration of the "Easing" movements to "Set-Point"
Plus point is you can specify the time-span for it to make the corrective action..
Easing Profiles - aka Servo rollercoaster