No additional hardware is needed for this tutorial
The MRLClient is a client adapter which allows other Java programs to interoperate with MyRobotLab. Although the myrobotlab.jar can be included and used in a Java program directly, it may sometimes be desirable to communicate over the network with an adapter.
The MRLClient jar is a small binary which uses the network to send and recieve messages to a running MyRobotLab instance. Other network adapters could be created for languages besides Java, but currently only Java is supported.
Example 1 - Sending a "Hello World" message to a GUI.
Services are key in MyRobotLab. Services are the basic building blocks which can do useful things like voice recognition, face tracking, or moving servos. A Service sends and recieves messages. In this example we are going to run one simple Java program which will send a "Hello World" message to a running instance of MyRobotLab.
1.1 Starting MyRobotLab with a Logging Service
Step 1. - Download MyRobotLab from here and unzip it into a directory.
Step 2. - Start the jython.bat or jython.sh depending on the operating system your using.
Step 3. - Copy and paste the following Jython script to the Jython editor. Press exec - to execute the script.
from org.myrobotlab.service import Logging
from org.myrobotlab.service import RemoteAdapter
from org.myrobotlab.service import Runtime

remote = Runtime.createAndStart("remote","RemoteAdapter")
logger = Runtime.createAndStart("logger","Logging")
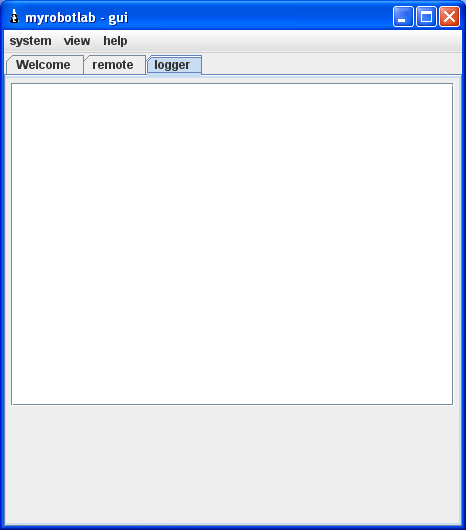
This will start 2 new services. The RemoteAdapter is needed to recieve messages from an external (out of process) source. Additionally, a Logging service named "logger" is started too. You should see 2 new tabs appear named "logger" and "remote".

Now MyRobotLab is running a Runtime, RemoteAdapter, Logging, and GUIService. It's ready to recieve and display some messages. The RemoteAdapter will by default listen on UDP and TCP ports 6767.
1.2 Using the MRLClient.jar in a Java Application to Send Messages
Step 1 - Download the MRLClient.jar from here and unzip it into the classpath of your application.
Step 2 - The following code can be added to your application to send messages to the running MyRobotLab instance.
TestHarness.java
package org.myrobotlab.client;

import org.myrobotlab.framework.Message;

public class TestHarness implements Receiver {

    public static void main(String[] args) {

        TestHarness test = new TestHarness();

        // create the client with a unique name
        MRLClient mrl = new MRLClient("myApp");
        // register the client with the running MyRobotLab
        mrl.register("localhost", 6767, test);
        // subscribe to a service & method - in this case logger.log(Message)
        mrl.subscribe("log", "logger", "receive", Message.class);
        for (int i = 0; i < 100; ++i)
        {
            // send message to logger.log(Message)
            // since logger.log accepts all types since its input
            // is a Message
            mrl.send("logger", "log", "Hello World " + i);
        }
    }

    @Override
    public void receive(Message msg) {
        System.out.println(msg.data[0]);
    }

}
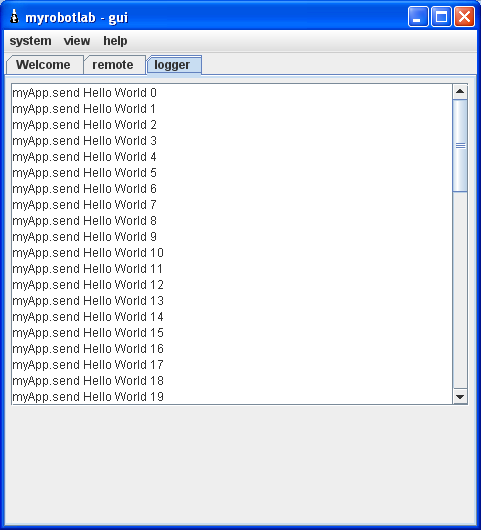
Yay, the messages are showing up on the Logger !!!

Lets go through the what is happening in detail.
First a new MRLClient is created with a unique name. This is similar to all services, which must each have a unique name. Messaging is done using these names. Each message has a sender and the name of the service of destination. In this case our MRLClient unique name is "myApp".
        // create the client with a unique name
        MRLClient mrl = new MRLClient("myApp");
The next step is to register with the MyRobotLab. This allows other services to send messages to the MRLClient, and the MRLClient's messages to appropriately find the right destination service.
        // register the client with the running MyRobotLab
        mrl.register("localhost", 6767, test);
The only things left now is to send the message. In order to do so you must know the name of the service, and the method you wish to invoke with an appropriate parameter (if one exists). We are going to invoke the "log" message on the Logging service named "logger". The javadoc shows the Logging.log method accepts a Message as a parameter, but this happens to be a "special" method which accepts all or any input parameter datatypes. The Logging.log method was created such that it intercepts and logs the entire message type. And since Message can hold any data type in its Object array - it will log everything.
Use the send method to send a message.
mrl.send("logger", "log", "Hello World " + i);The send method signature follows this pattern :
send ( serviceName, method, parameters ... )
Another example would be
mrl.send("motor01", "attach", "arduino01", 9, 4);This example is invoking motor01's attach method with 3 parameters (controllerNae, powerPin, dirPin).
1.3 UDP vs TCP Messages
The default communication method with external sources uses UDP. This is a fast, connectionless communication protocol. It has less overhead than TCP, however, it does not guarantee delivery. This can be useful for noisy sensors, or streaming video. It may not be the preferred protocol for control messages. MyRobotLab supports TCP too which guarantees message delivery.
To use TCP rather than UDP, another parameter is used when creating the MRLClient - MRLClient.COMMUNICATION_TYPE_TCP
        // create the client with a unique name and use TCP
        MRLClient mrl = new MRLClient("myApp", MRLClient.COMMUNICATION_TYPE_TCP);
1.4 Using the MRLClient.jar in a Java Application to Receive Messages
So how do you receive data bacck from a running MyRobotLab ? Well, the previous application TestHarness.java did that as well.
The "subscribe" method subscribes to a particular service, method and return data type. When that method is executed a message comes back with the return value. One of the signatures for subscribe is the following :
subscribe(outMethod, serviceName, inMethod, params ...)
mrl.subscribe("log", "logger", "receive", Message.class);
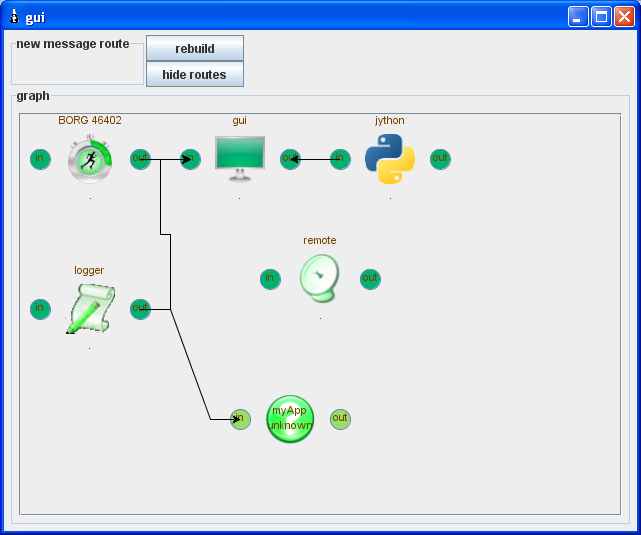
The TestHarness.java program subscribed to the log method of the logger service. Here is an example of what
    @Override
    public void receive(Message msg) {
        System.out.println(msg.data[0]);
    }

mrl.subscribe("log", "logger", "receive", Message.class);


