07.27.2013 UPDATE


07.25.2013 UPDATE
PRINTER FULL ASSEMBLED...FIRST PRINT TEST :D YAY :D

07.18.2013 UPDATE
Home return test, with endstop switches just soldered and assembled :D
WORKY :D YAY :D now my prusa know the way to come back to home \o/
07.16.2013 UPDATE
Done with soldering. Stepper and electronics test... YAY
05.13.2013 UPDATE
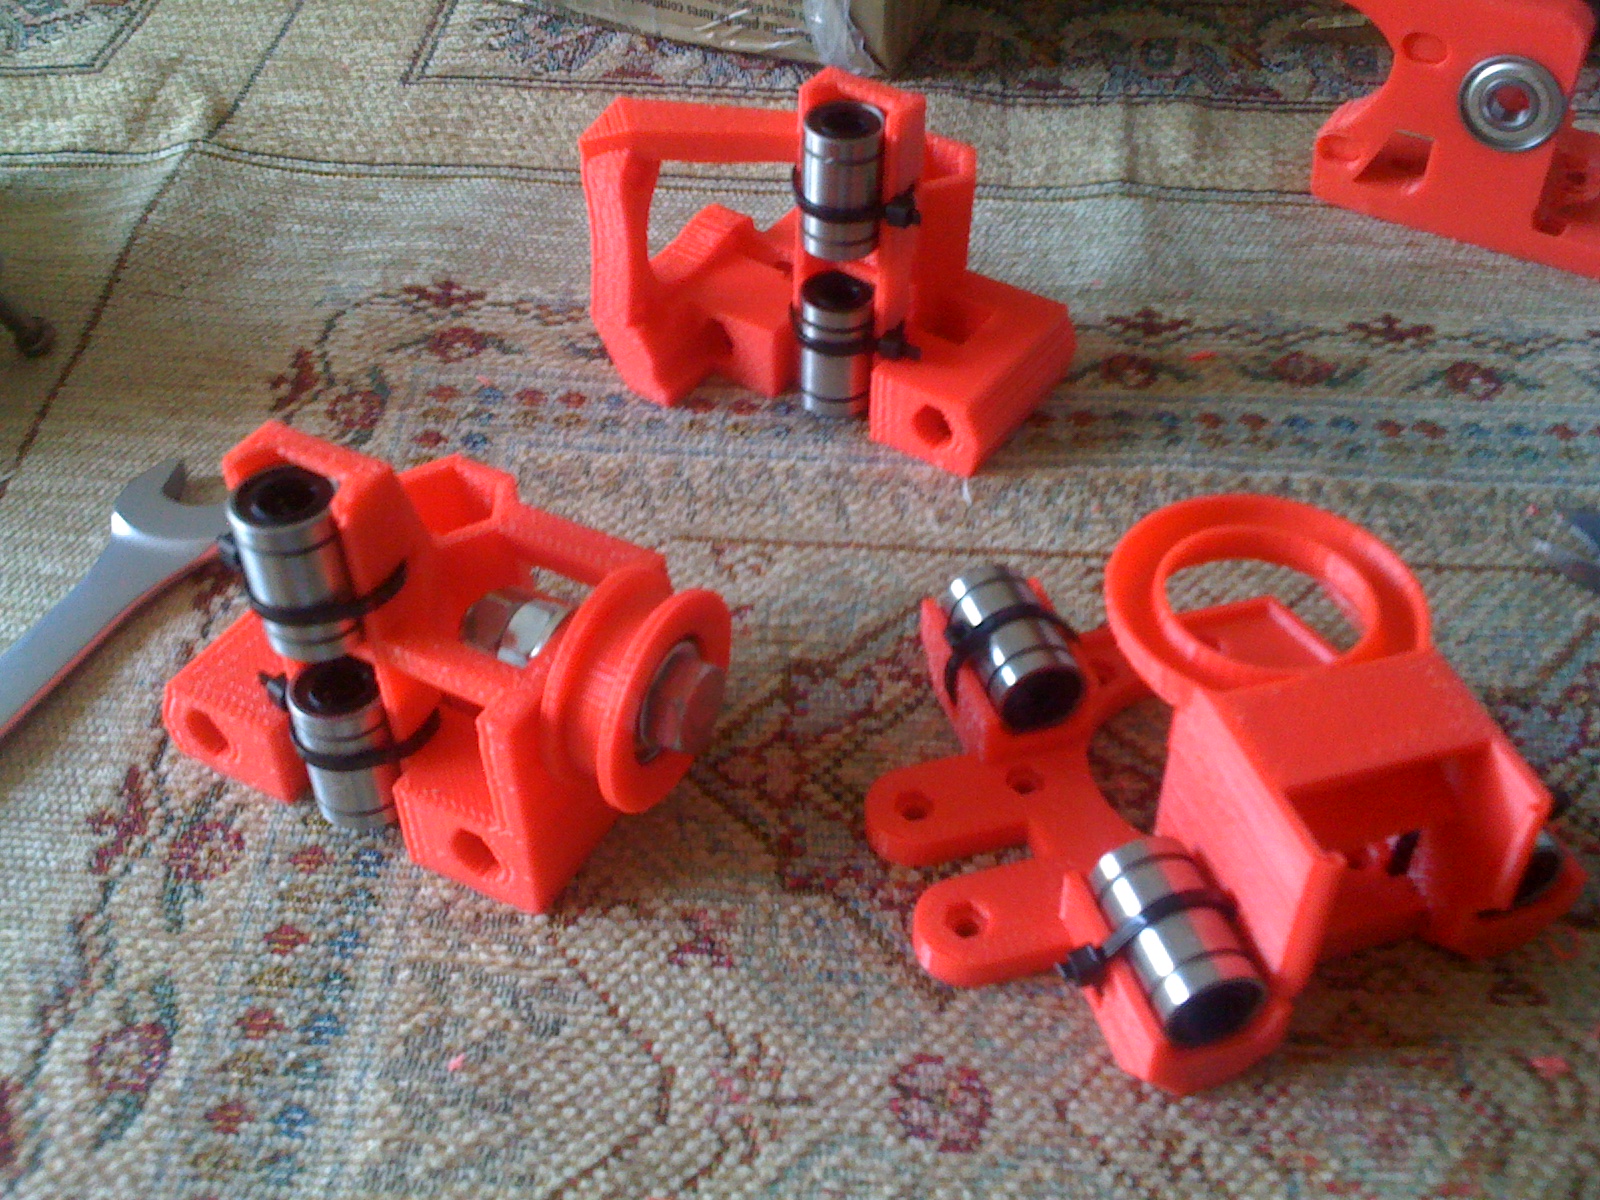
WHOOO HOOO...MECHANICAL PARTS ARE NOW ASSEMBLED :D I HAVE VERY GOOD ELVES :D

WHOOO HOOO...MECHANICAL PARTS ARE NOW ASSEMBLED :D

y-BOTTOM PLATE : MDF

:D the pic speaks itself :D

Extruder assembled

Extruder assembled

05.12.2013 UPDATE
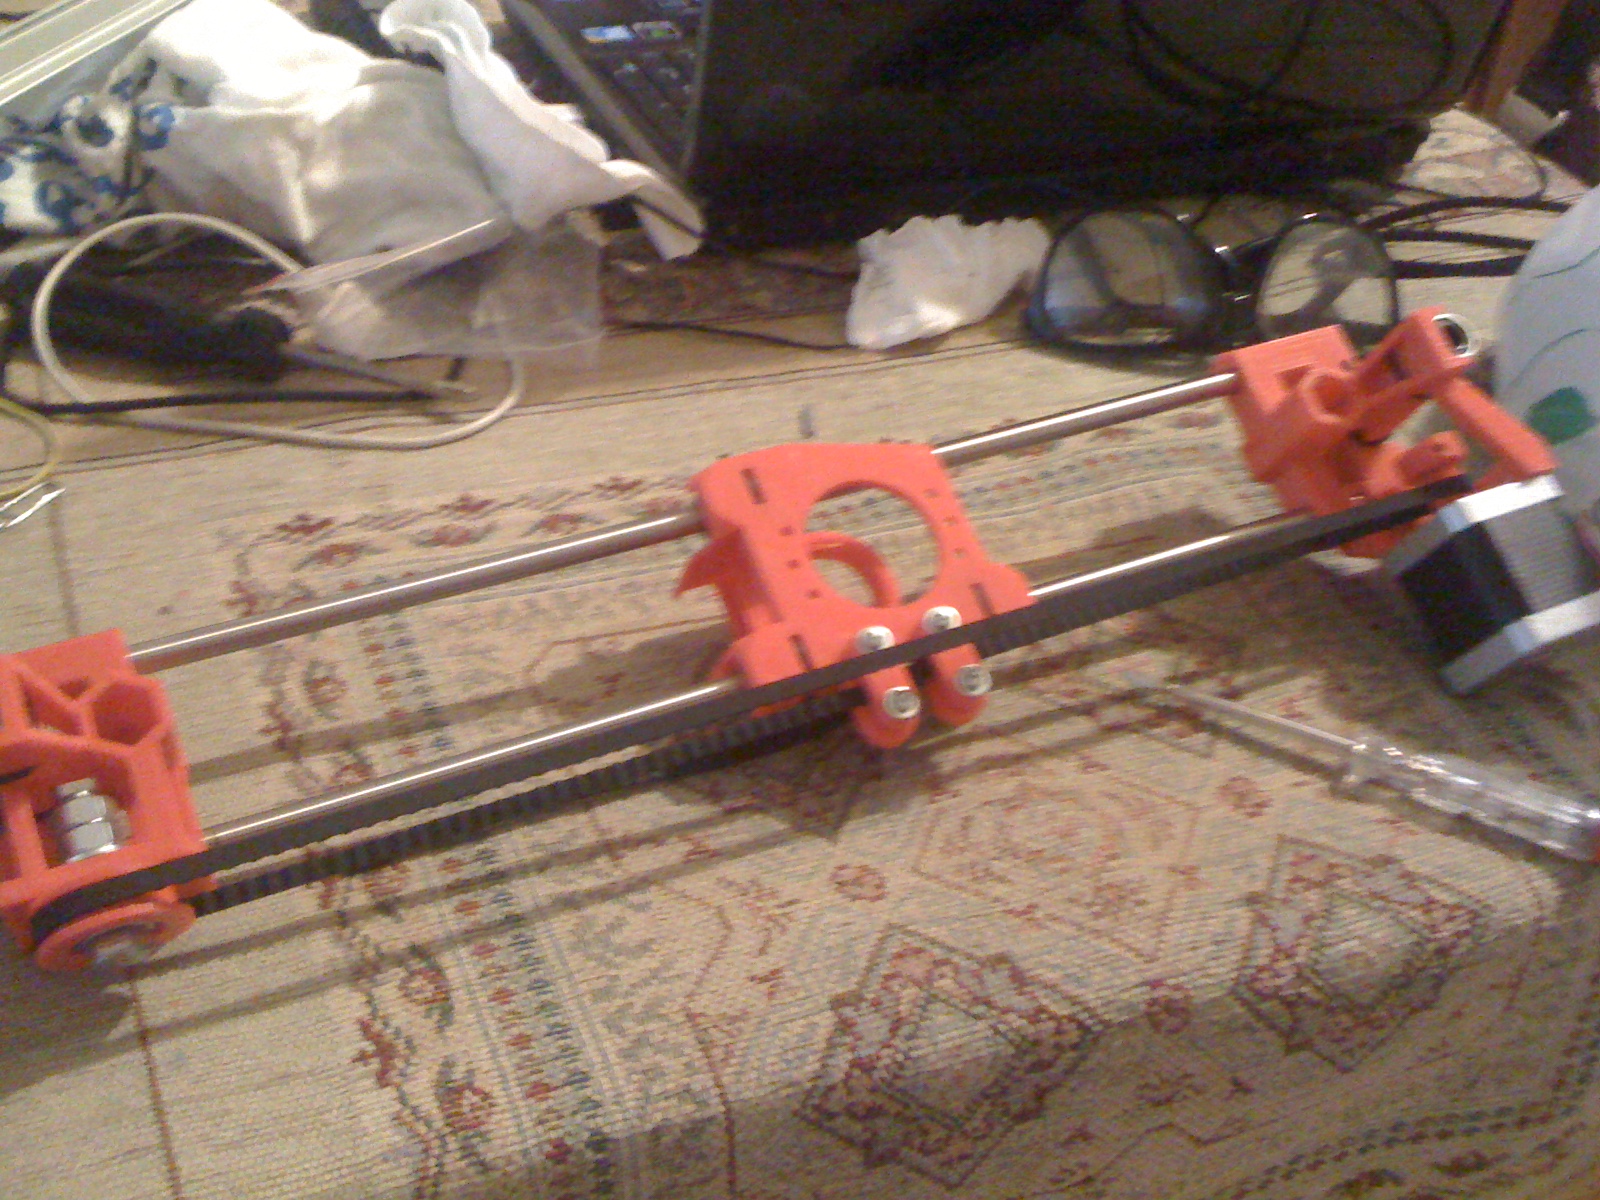
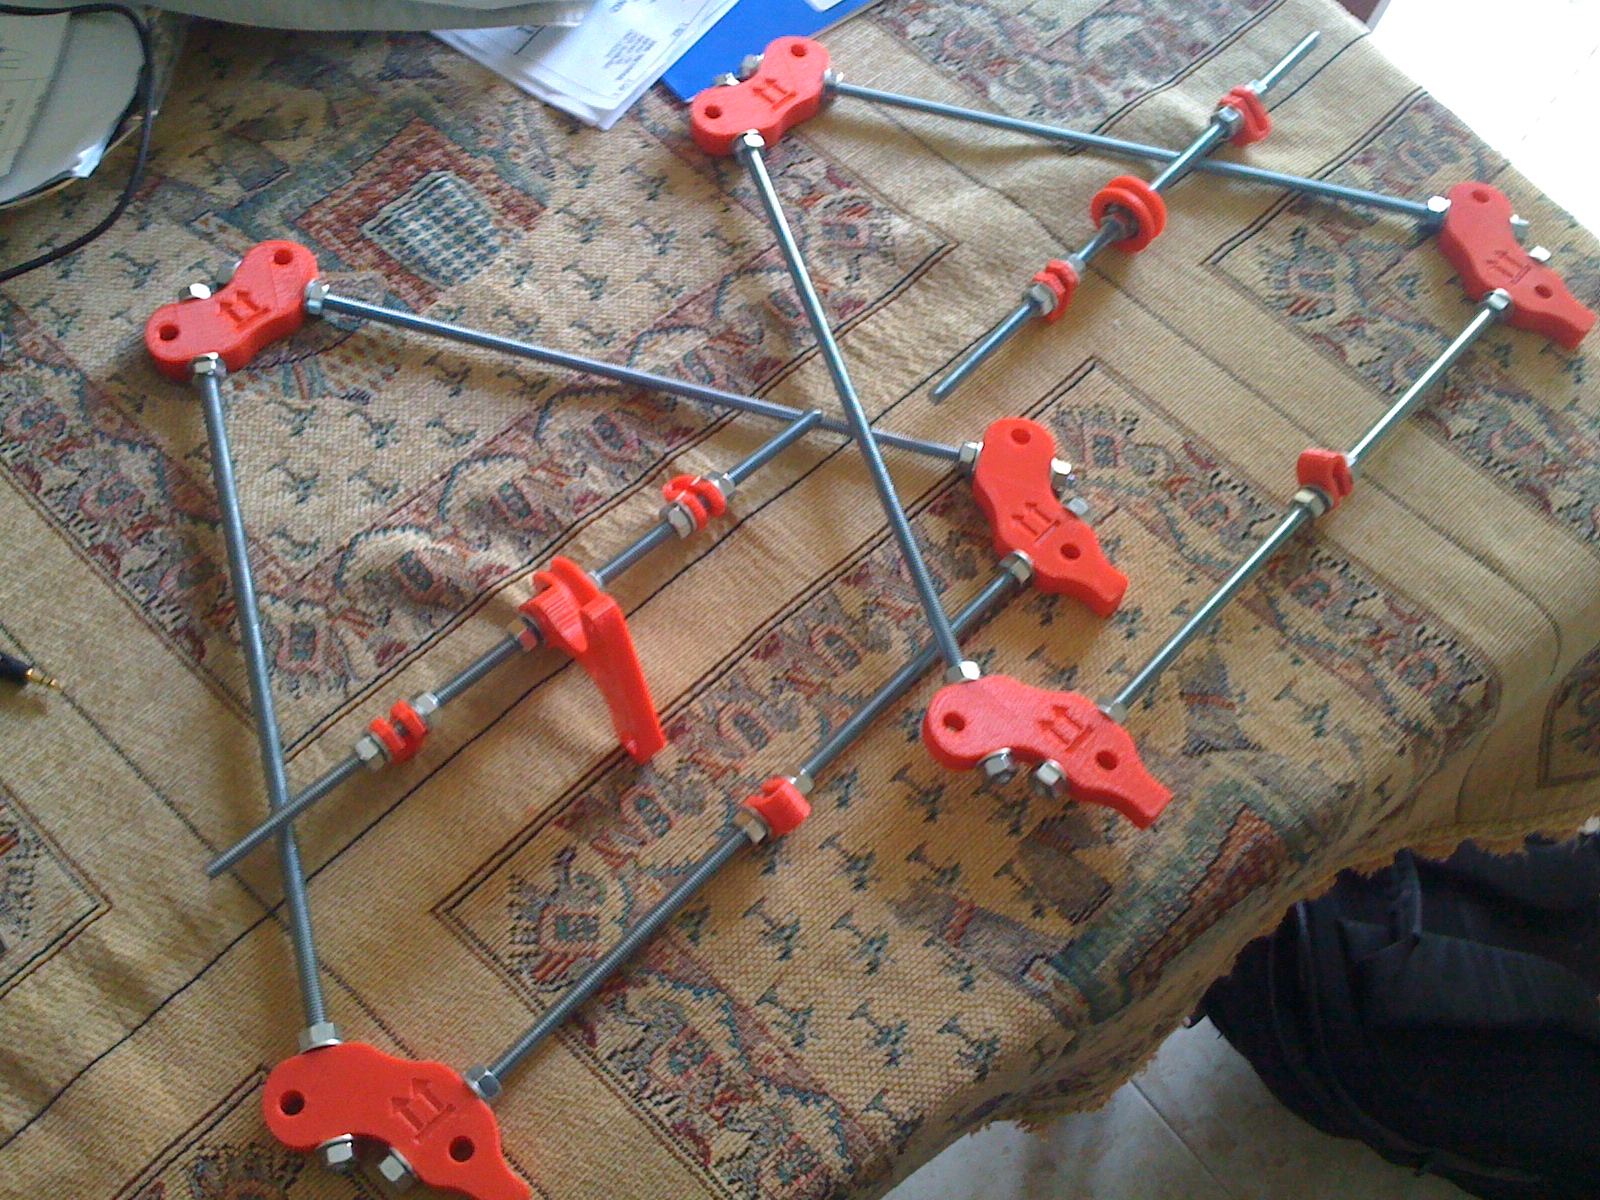
X axis is now assembled !!!

===================================================================================
05.10.2013 UPDATE
New pieces arrived this morning : Motors, belts and hobbed bolt

X axis ready to be assembled, linear bearings already installed, smooth rods cutted and every hole is drilled
threaded rods are EVIL sometimes :
===================================================================================
05.07.13 UPDATE
Prusa pieces now are semi-assembled...the printer GROW
 c
c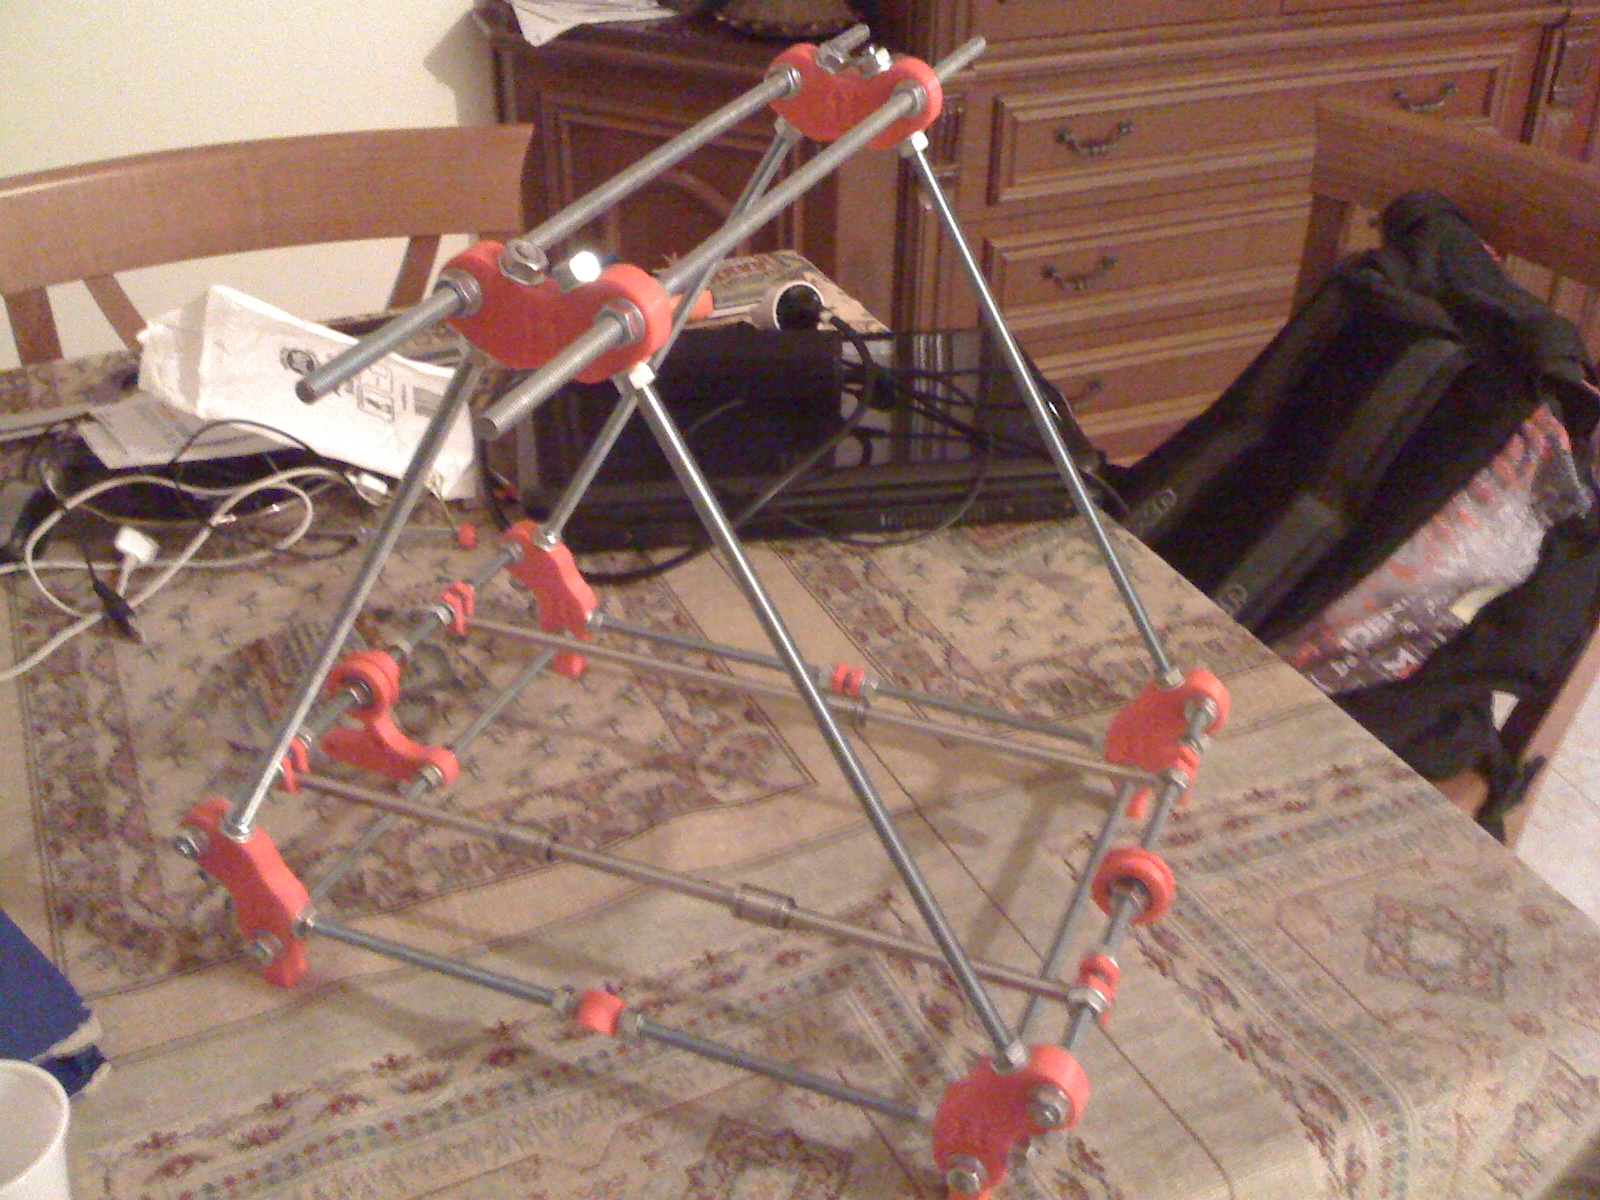
===================================================================================
Hi friends... here some building pics
.JPG)
plastic parts -> FULLY ABS

1 METER M8 BARS.... CUTTED WITH AN HAND SAW AND GLASSES :D

ME SAWING :D
First pices assembled :D
Italian assembly videos - http://www.youtube.com/user/rescoresearch?feature=watch with English subtitles
Inspirational !
I have the same thing, except its still in more pieces :P
Excited to see your progress !
Ok
I found the elctronics in my kit - its a RAMPs v 1.4
Is this good, bad, unknown ... what have you heard?
Very good
GroG ramps 1.4 is the best solution... Because it has current regulation sistems and fuses which protect the board in case of over current... If you Use the heated bed that is very important...
Ramps is also more complete, and you can expand it with an sd card reader and a screen in order to make a stand alone printer which don't need computer to work
Great choice;)
Build looking good
Looking good Alessandruino.
Feel free to ask if you have any question on the build. I have built 2 now and rebuilt mine a few times with improvements added.
The first build took forever to get the bed level but now it takes no time at all.
Looking forward to seeing your build Grog.
I am printing my bicep parts and love how the pistonanticlock and base turned out. Fitted together and works perfectly.
Designed and printed some saddles for a mate in 20 mins the other day and he is blown away with this technology.
I use google sketchup8 as a cad and love it.
Saw this on youtube and might have to have a go at it soon.
http://www.youtube.com/watch?v=oEQsAi_eRAI
Once you have the 3 axis frame and electronics, the options are endless. Richrap has a universal x carriage that takes a syringe for anything semi liquid at a low temperature such as chocolate or ceramic paste.
I have printed these but not tested them yet.
I have the sd card reader and use it occasionally. The lcd screen or even a touch screen is coming soon.
Bought this kit off evilbay and am getting used to the parts.
http://www.ebay.com.au/itm/160890643358?ssPageName=STRK:MEWNX:IT&_trksi…
The lcd might make it to the printer when I get more used to the programming.
Thanks for all the useful
Thanks for all the useful tips and info Gregted ! It's nice to have someone experienced around to help us noobs !
It Grows !
Looks like excellent progress !
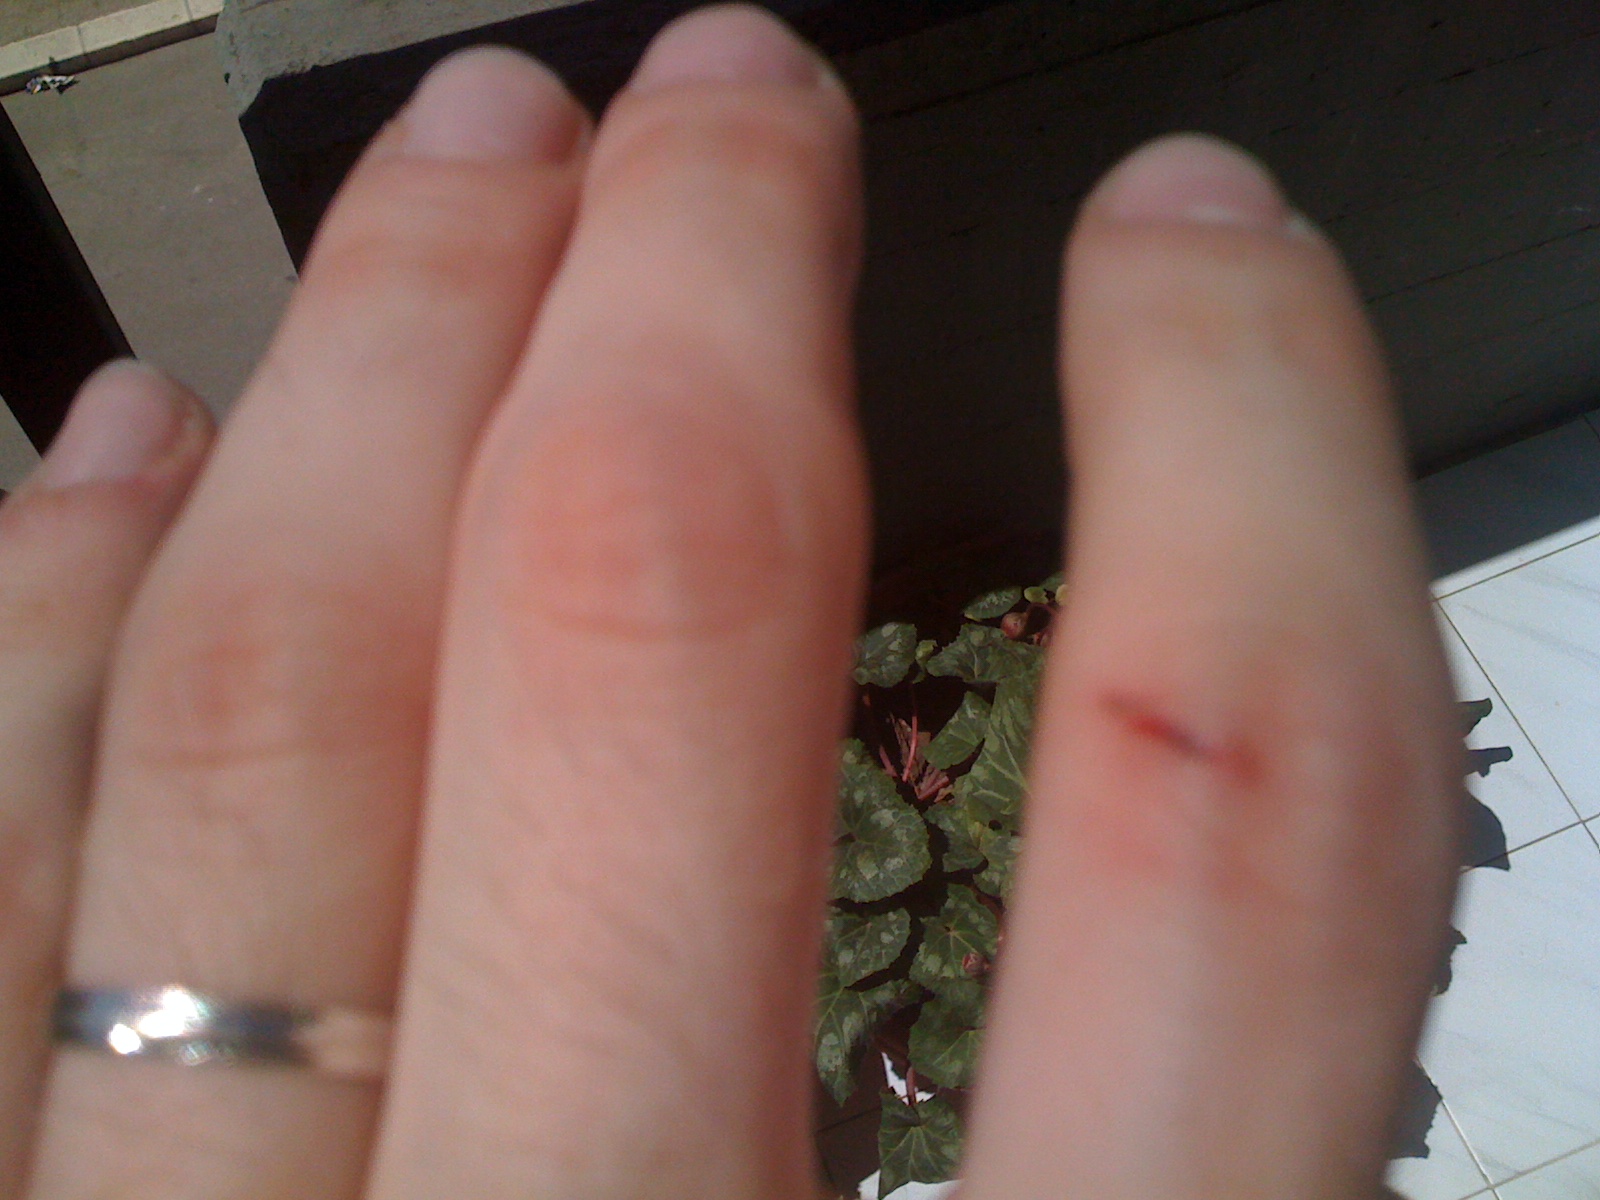
I need good elves like you have.. too bad one bit you on the finger ...
Now you can print Lines
Now you can print Lines !
Soon will be squares ...
Then cubes !!
Looks GREAT ! :D
Getting good! You will love
Getting good! You will love or hate that thing. (When it finally prints) Love is the most probable, ahaha!
I love that thing already :D
I love that thing already :D I love see it grows day by day !!!
Amazing Travel => 3d printing, inmoov, MyRobotLab, Arduino...
Thanks a lot for the quote in your post about eyes mechanism... I really appreciated it...
WOOHOO !
ITS ALIVE IN 3D !!!
Wow the elves have been busy !
To remember I put what software you are running ... I must catch up !!!
YOU ROCK IN 3D !